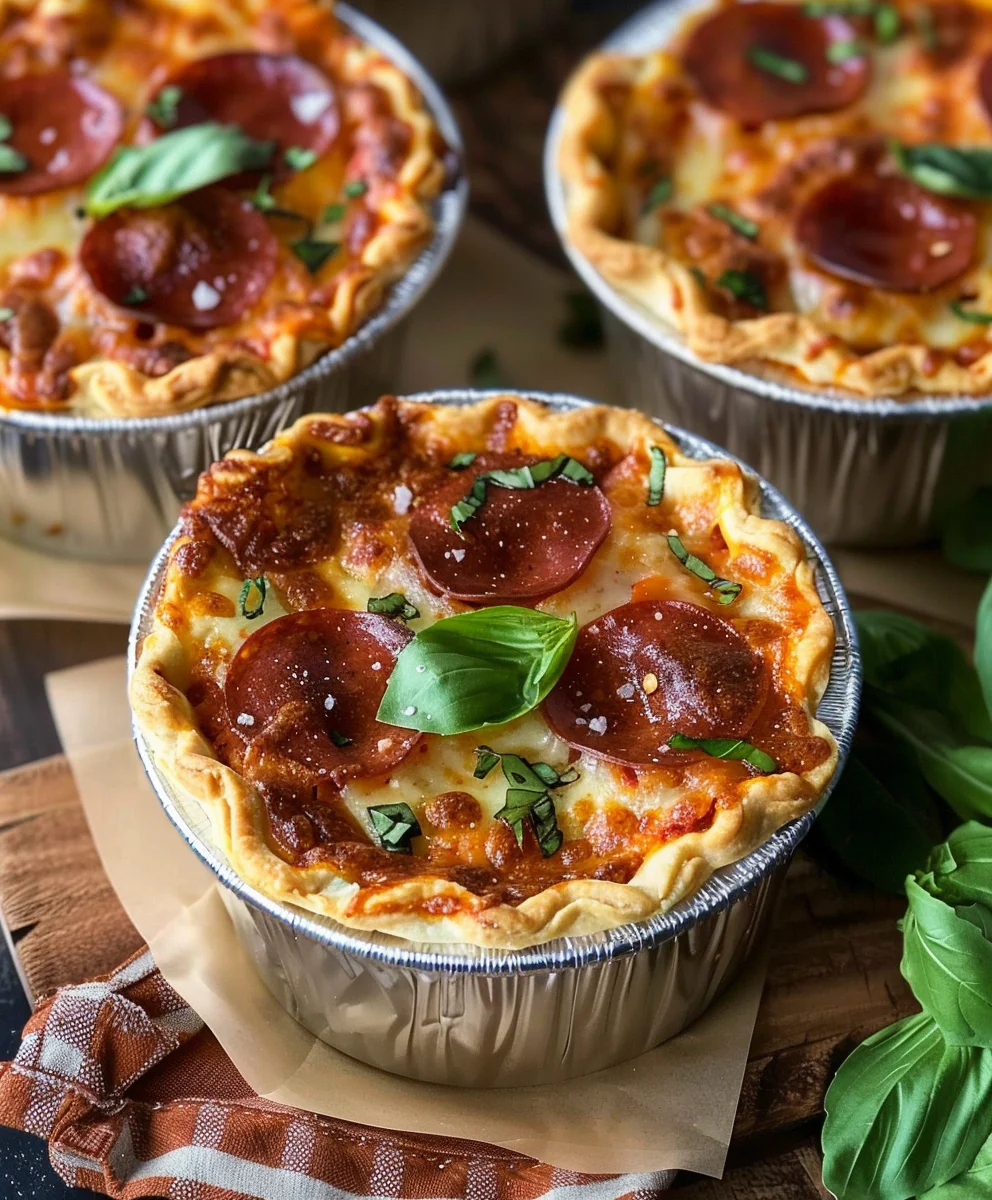
Pizza Pot Pies The Ultimate Comfort Food Mash Up – just hearing those words together sparks an immediate sense of delicious anticipation, doesn’t it? As a passionate home cook, I’m always on the lookout for recipes that transform familiar favorites into something fresh and exciting, and this one truly hits the mark. Imagine sinking your spoon into a warm, individual pot pie, breaking through a golden, flaky pastry crust to reveal a bubbling, cheesy, saucy filling bursting with all the iconic flavors of your favorite pizza.
Historically, both pizza and pot pies have stood as pillars of comfort food across cultures and centuries. Pizza, with its humble Italian origins, evolved into a global culinary icon, cherished for its versatility and satisfying taste. Pot pies, on the other hand, boast a long lineage as hearty, warming meals, perfect for gathering around. This incredible recipe brilliantly merges these two beloved traditions, taking the universally adored taste of pizza and reimagining it within the cozy, individual package of a pot pie. It’s truly a stroke of genius!
Why You’ll Fall in Love with Pizza Pot Pies
People adore this dish because it offers the ultimate textural and flavor adventure. You get the irresistible gooeyness of melted mozzarella, the savory punch of tomato sauce and your preferred toppings, all contrasted by the crisp, buttery flakiness of the pastry. It’s not only a fun and inventive way to enjoy pizza but also incredibly convenient, offering perfectly portioned servings that are less messy than traditional slices. Every bite is a delightful surprise, comforting and exciting all at once, proving why this is truly Pizza Pot Pies The Ultimate Comfort Food Mash Up that will undoubtedly become a new staple in your kitchen.

Ingredients:
- For the Ultimate Pizza Filling:
- 1 tablespoon olive oil, extra virgin preferred
- 1 large yellow onion, finely diced
- 3 cloves garlic, minced
- 1 pound Italian sausage (mild or spicy, your choice!), casings removed if using links
- 4 ounces pepperoni, roughly chopped or sliced into quarters
- 1 cup sliced mushrooms, cremini or white button work beautifully
- 1/2 cup diced green bell pepper
- 1 (28 ounce) can crushed tomatoes, good quality makes a huge difference here
- 1 (15 ounce) can tomato sauce
- 2 tablespoons tomato paste, for added depth and richness
- 1 teaspoon dried oregano
- 1/2 teaspoon dried basil
- 1/4 teaspoon red pepper flakes (optional, for a little kick)
- 1 teaspoon sugar, to balance acidity (don’t skip this, it’s a game changer!)
- Salt and freshly ground black pepper to taste
- For the Cheesy Layer:
- 2 cups shredded mozzarella cheese, whole milk low-moisture is best for melting
- 1/2 cup grated Parmesan cheese, freshly grated is highly recommended
- For the Pot Pie Topping:
- 2 sheets frozen puff pastry, thawed according to package directions
- 1 large egg, lightly beaten with 1 tablespoon water (for an egg wash)
- Flour, for dusting your work surface
- Optional Garnishes:
- Fresh basil leaves, chopped
- Extra red pepper flakes
- More grated Parmesan cheese
Preparing the Glorious Pizza Pot Pie Filling
This is where the magic truly begins! Crafting a rich, flavorful filling is the heart of our Pizza Pot Pies The Ultimate Comfort Food Mash Up. I promise you, the aroma alone will have your kitchen smelling like the best pizzeria in town.
-
Set the Stage: Grab a large, heavy-bottomed pot or a Dutch oven and place it over medium-high heat. Add your olive oil. Once it shimmers, toss in the finely diced yellow onion. We’re looking for translucent and softened onions, which usually takes about 5-7 minutes. Stir them occasionally to ensure even cooking and prevent any unwanted browning that might turn bitter.
-
Aromatic Awakening: Once the onions are soft and fragrant, it’s time to introduce the minced garlic. Stir the garlic into the onions and cook for just about 1 minute, until it becomes wonderfully aromatic. Be careful not to burn the garlic; burnt garlic can quickly turn your sauce bitter, and we definitely don’t want that for our ultimate comfort food creation!
-
Sausage Sizzle: Now, crumble in the Italian sausage. If you’re using links, remember to remove the casings first. Break up the sausage with a wooden spoon as it cooks. Our goal here is to brown it thoroughly, making sure there are no pink bits left. This typically takes about 8-10 minutes. Once browned, drain any excess fat from the pot. This step is crucial for a non-greasy, flavorful filling.
-
Pepperoni Power: Add the chopped pepperoni to the pot with the sausage. Cook for another 3-5 minutes, allowing the pepperoni to crisp up slightly and render out some of its delightful, spicy fat. This not only adds incredible flavor but also contributes to that signature pizza taste we’re aiming for.
-
Vegetable Vibrancy: Stir in the sliced mushrooms and diced green bell pepper. Continue to cook for about 5-7 minutes, or until the mushrooms have released their moisture and started to soften, and the bell peppers are tender-crisp. I love the slight chewiness the vegetables add to the pot pie.
-
Tomato Time: Pour in the crushed tomatoes and tomato sauce. Add the tomato paste, dried oregano, dried basil, red pepper flakes (if using), and the sugar. Give everything a really good stir to combine all those glorious flavors. The sugar, while seemingly small, plays a vital role in balancing the acidity of the tomatoes, creating a smoother, more rounded sauce that truly sings.
-
Simmer and Savor: Bring the mixture to a gentle simmer. Once simmering, reduce the heat to low, cover the pot, and let it cook for at least 30 minutes, or even up to an hour if you have the time. The longer it simmers, the more the flavors will meld and deepen, resulting in an incredibly rich and satisfying filling. Don’t forget to stir occasionally to prevent sticking. Towards the end of the simmering time, taste the sauce and adjust seasonings with salt and freshly ground black pepper as needed. This is your chance to perfect the flavor profile!
-
Cool Down: Once your filling is cooked to perfection, remove it from the heat and let it cool slightly. While it doesn’t need to be completely cold, working with warm (not piping hot) filling will make the assembly process much easier and prevent your pastry from getting soggy too quickly.
Preparing the Perfect Puff Pastry Topping
The puff pastry crust is what truly transforms these into “pot pies” and adds that delightful, flaky texture that contrasts so beautifully with the rich filling. It’s surprisingly easy to work with, especially when thawed correctly.
-
Thaw with Care: If your puff pastry is frozen, make sure to thaw it properly. Usually, this means leaving it in the refrigerator overnight or on the counter for about 30-40 minutes. You want it pliable but still cold. If it gets too warm, it becomes sticky and difficult to handle. Patience here pays off!
-
Preheat the Oven: While the filling is cooling or while you’re preparing your pastry, preheat your oven to 400°F (200°C). This ensures your oven is hot and ready for that perfect golden crust.
-
Prepare Your Work Surface: Lightly flour a clean, dry work surface. Carefully unfold one sheet of puff pastry. If it cracks, don’t worry too much; you can usually press it back together with your fingers.
-
Roll it Out: Using a rolling pin, gently roll out the puff pastry slightly, just enough to smooth out any creases and make it a little larger. This helps to ensure a uniform thickness and makes cutting easier.
-
Cut the Crusts: Using a round cutter, a cookie cutter, or even the rim of one of your ramekins (if it’s sharp enough), cut out circles of puff pastry that are slightly larger than the diameter of your individual ramekins or oven-safe bowls. This extra size will allow the pastry to drape over the edges of your dishes, giving it that classic pot pie look. Depending on the size of your dishes, you should get about 3-4 circles per sheet of pastry. Repeat this process with the second sheet of puff pastry.
-
Egg Wash Ready: In a small bowl, whisk together the large egg with 1 tablespoon of water to create our egg wash. This will give your puff pastry a beautiful golden-brown color and a lovely sheen.
Assembling Your Pizza Pot Pies The Ultimate Comfort Food Mash Up
This is where all our hard work comes together! The layering is simple but crucial for that perfect bite of rich filling, gooey cheese, and flaky crust.
-
Prepare the Ramekins: Lightly grease six individual ramekins or oven-safe bowls (about 8-10 ounce capacity) with a little bit of olive oil or cooking spray. This helps prevent sticking and makes serving easier.
-
Layering the Love: Spoon about 1/2 cup of the cooled pizza filling into the bottom of each prepared ramekin. Don’t overfill, as we need room for cheese and the pastry to puff up. I like to spread it out evenly.
-
Cheese Please: Sprinkle a generous amount of shredded mozzarella cheese (about 1/4 cup) over the filling in each ramekin. Then, follow with a small sprinkle of grated Parmesan cheese. This dual cheese layer adds incredible flavor and that quintessential melty, gooey texture we all adore in pizza.
-
Top it Off: Carefully place one of your puff pastry circles over the top of each ramekin, allowing the edges to slightly overhang. Gently press the edges of the pastry against the rim of the ramekin to seal it. While a perfect seal isn’t absolutely necessary (it is a pot pie, after all!), a gentle press helps keep the filling contained and encourages a better puff.
-
Egg Wash and Vent: Brush the top of each puff pastry with the egg wash. This is what gives it that beautiful golden sheen. Then, using a sharp knife, carefully cut a small slit or two in the center of each pastry top. This acts as a vent, allowing steam to escape during baking and preventing the pastry from exploding, which would be a shame for such a delightful creation!
-
Baking Tray: Place the filled and topped ramekins on a baking sheet. This makes it much easier to transfer them to and from the oven and catches any potential spills, keeping your oven clean.
Baking and Serving Your Ultimate Comfort
The moment of truth! Watching those golden crusts puff up in the oven is truly satisfying, and the aroma filling your kitchen will be absolutely intoxicating. Get ready for a truly special meal.
-
Bake to Golden Perfection: Carefully transfer the baking sheet with the pot pies to your preheated oven. Bake for 20-25 minutes, or until the puff pastry is beautifully golden brown, puffed up, and cooked through. You want that crust to be light, airy, and flaky. The filling should also be bubbling enthusiastically around the edges.
-
Cool Down (Carefully!): Once baked, carefully remove the baking sheet from the oven. Be very cautious, as the filling will be extremely hot and can cause burns. Allow the pizza pot pies to cool on the baking sheet for at least 5-10 minutes before serving. This cooling time is essential for two reasons: firstly, it prevents you from burning your mouth on the molten filling, and secondly, it allows the filling to set slightly, making it easier to enjoy without it running everywhere.
-
Garnish and Enjoy: Serve your Pizza Pot Pies The Ultimate Comfort Food Mash Up warm! If you like, sprinkle with some fresh chopped basil, a pinch of extra red pepper flakes for those who love heat, or a final dusting of grated Parmesan cheese. I love serving these with a simple side salad to cut through the richness, or some crusty garlic bread for even more carb-on-carb comfort.
-
Leftovers (if any!): Should you be so lucky as to have any leftovers, they store well in an airtight container in the refrigerator for up to 3 days. Reheat gently in the oven or microwave, though the pastry might lose some of its crispness in the microwave. Reheating in the oven at 350°F (175°C) for about 15-20 minutes is best for bringing back some of that delightful crispness.
A Note on Personalization
Don’t be afraid to make this recipe your own! If you have favorite pizza toppings, feel free to incorporate them into the filling. Think black olives, artichoke hearts, or even different types of cheese like provolone. This recipe is a fantastic foundation for your culinary creativity. Enjoy this incredible marriage of two beloved comfort foods!

Conclusion:
So, there you have it! We’ve journeyed through the creation of what I truly believe is one of the most exciting and comforting dishes you can bring to your table. If you’ve been looking for something new, something that truly stands out from the usual weeknight dinner rotation, then this recipe is an absolute game-changer. It’s more than just a meal; it’s an experience, a delightful surprise that marries two beloved culinary worlds into one utterly irresistible package. The crispy, golden-brown crust, giving way to a rich, bubbling filling bursting with all the classic pizza flavors you adore – tangy tomato sauce, gooey melted cheese, and your favorite toppings – all cocooned in a cozy, individual serving. It’s the kind of dish that warms you from the inside out, evokes happy memories, and creates new ones around the dinner table. This isn’t just a recipe; it’s an invitation to elevate your comfort food game, offering all the satisfying richness of a pot pie combined with the universally loved taste of pizza.
Why This Recipe is a Must-Try:
Believe me when I say, once you try these, you’ll understand why I’m so enthusiastic. They are incredibly satisfying, surprisingly straightforward to make, and guaranteed to be a hit with everyone, from the pickiest eaters to the most discerning foodies. This unique creation truly embodies the best of both worlds, making it a culinary innovation that’s both fun and incredibly delicious. This is precisely why I’m so eager for you to dive into the wonderful world of what I affectionately call Pizza Pot Pies The Ultimate Comfort Food Mash Up. It’s a dish that delivers on every front, combining the warmth and heartiness you expect from a pot pie with the universally adored zest of a freshly baked pizza, all in one perfectly portioned, incredibly delightful package. You simply have to experience the magic for yourself; it’s a revelation of flavor and texture that will quickly become a cherished favorite in your recipe repertoire.
Elevating Your Experience: Serving Suggestions and Creative Variations
Now, while these delightful pies are utterly fantastic on their own, a little accompaniment can elevate the meal even further. I often find myself serving them alongside a simple, crisp green salad tossed with a light vinaigrette. The freshness and tang of the salad perfectly cut through the richness of the pies, creating a beautifully balanced meal. Another fantastic idea is to offer a side of warm marinara sauce for dipping – because who doesn’t love extra sauce? A sprinkle of fresh basil or oregano over the top right before serving also adds a wonderful aromatic touch and a pop of color. For a heartier side, some garlic bread or even roasted vegetables can complement the meal wonderfully.
But the beauty of this recipe truly lies in its incredible versatility. Think of the filling as a blank canvas for your pizza dreams! You can easily swap out or add different toppings to suit your family’s preferences. Love pepperoni? Load it up! Prefer a veggie-heavy option? Sauté some mushrooms, bell peppers, onions, or even spinach and artichoke hearts before mixing them into your sauce. For a meatier variation, cooked Italian sausage, crumbled ground beef, or shredded chicken (perhaps leftover rotisserie chicken) would be absolutely superb. Don’t be afraid to experiment with cheese either! While mozzarella is classic, a blend of provolone, a little sharp cheddar, or even a dusting of Parmesan on top before baking can add wonderful depth of flavor. You can even try a smoky gouda for an unexpected twist!
And let’s talk crust! While I’ve guided you through a fantastic, easy-to-handle crust, feel free to get creative. Store-bought puff pastry makes for an incredibly flaky, elegant top, while refrigerated biscuit dough can offer a softer, more bread-like cap. For those with dietary considerations, a gluten-free pie crust or even a cauliflower crust base for the filling (if you’re going crustless on the bottom) could be explored. The possibilities are truly endless, allowing you to tailor this incredible dish to exactly what you and your loved ones crave. Imagine a ‘supreme’ version with all the fixings, or a ‘white pizza’ version with an Alfredo-style sauce base and ricotta. Don’t hesitate to play around with different spice levels either; a pinch of red pepper flakes can give it a wonderful kick, transforming it into a fiery delight for those who appreciate a bit of heat!
Your Culinary Adventure Starts Now!
So, what are you waiting for? I genuinely hope you’re feeling inspired and excited to try your hand at making these phenomenal pies. Don’t be intimidated; the process is incredibly rewarding, and the results speak for themselves. This recipe isn’t just about following steps; it’s about bringing joy and deliciousness into your home. Imagine the smiles when you present these golden-brown beauties at the dinner table! I promise you, the effort is minimal compared to the incredible satisfaction and culinary delight you’ll experience. It’s an investment in pure comfort and happiness.
Once you’ve whipped up your own batch of these incredible creations, I would absolutely love to hear all about it. What toppings did you choose? Did you experiment with the crust? What was your favorite part? Please, don’t hesitate to share your experiences, your triumphs, and even your creative variations in the comments section below. I adore seeing how you all make these recipes your own. Snap a photo and share it with your friends and family – spread the word about this fantastic comfort food discovery! Your feedback and shared culinary adventures truly make this whole journey worthwhile for me. So go forth, bake with passion, and prepare to fall in love with your new favorite meal. Happy cooking, my friends, and enjoy every single delightful bite!
Pizza Pot Pies: Ultimate Beef Comfort Food Mashup!
Imagine sinking your spoon into a warm, individual pot pie, breaking through a golden, flaky crust to reveal a bubbling, cheesy, saucy filling bursting with all the iconic flavors of your favorite pizza. This incredible recipe brilliantly merges two beloved traditions for the ultimate comfort food experience.
Ingredients
-
1 package refrigerated pizza dough (or homemade pizza dough)
-
1 1/2 cups marinara sauce or pizza sauce
-
1 1/2 cups shredded mozzarella cheese
-
1/2 cup beef pepperoni slices (or your choice of toppings such as beef sausage, mushrooms, bell peppers, olives)
-
1/4 cup grated Parmesan cheese
-
1 teaspoon dried oregano
-
1 teaspoon dried basil
-
1/2 teaspoon garlic powder
-
1/4 teaspoon red pepper flakes (optional)
-
Olive oil (for brushing)
Instructions
-
Step 1
Preheat your oven to 400°F (200°C). Lightly grease six individual oven-safe ramekins or bowls (about 8-10 ounce capacity). -
Step 2
Lightly flour a clean work surface. Roll out the refrigerated pizza dough and cut into 6 circles, ensuring each is slightly larger than the opening of your ramekins. -
Step 3
Spoon about 1/4 cup marinara or pizza sauce into the bottom of each prepared ramekin. Layer with about 1/4 cup shredded mozzarella cheese, some beef pepperoni slices (or your chosen toppings), and a sprinkle of grated Parmesan cheese. Repeat with another layer of sauce, cheese, and toppings. -
Step 4
Sprinkle the filling in each ramekin with dried oregano, dried basil, garlic powder, and optional red pepper flakes. Carefully place one pizza dough circle over the top of each ramekin, gently pressing the edges against the rim to seal. -
Step 5
Lightly brush the top of each pizza dough crust with olive oil (or an egg wash for a richer golden finish). Using a sharp knife, cut a small slit or two in the center of each dough top to allow steam to escape during baking. -
Step 6
Place the filled and topped ramekins on a baking sheet. Transfer to the preheated oven and bake for 20-25 minutes, or until the pizza dough crust is beautifully golden brown, puffed up, and the filling is bubbling enthusiastically around the edges. -
Step 7
Carefully remove the baking sheet from the oven. Allow the pizza pot pies to cool for at least 5-10 minutes on the baking sheet before serving. This prevents burns from the extremely hot filling and allows it to set slightly. Garnish with fresh basil or extra Parmesan if desired, and enjoy warm!
Important Information
Nutrition Facts (Per Serving)
It is important to consider this information as approximate and not to use it as definitive health advice.
Allergy Information
Please check ingredients for potential allergens and consult a health professional if in doubt.