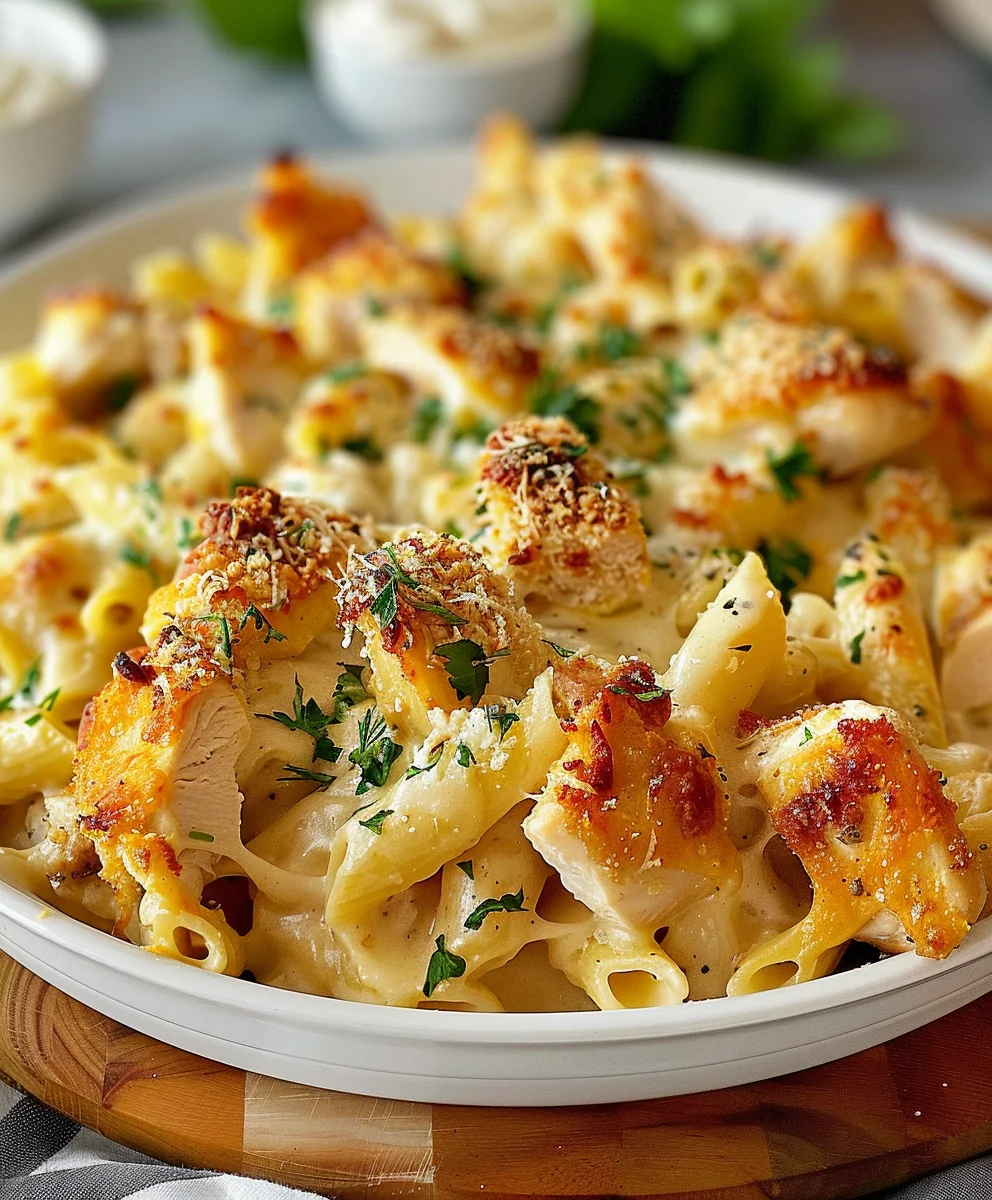
Discover the Ultimate Comfort Dish!
I am absolutely thrilled to welcome you to a culinary journey that promises to warm your soul and delight your palate. Today, I’m sharing a recipe that holds a special place in my heart, a dish that transcends mere ingredients to become a symbol of warmth, tradition, and togetherness. While the specific identification for this incredible creation might be captured by something like ?p=10859 in our digital archive, its true essence lies in the rich aromas and incredible flavors that fill your kitchen.
This particular recipe, a beloved classic often passed down through generations, boasts a humble yet fascinating history. Originating from the heart of European farmhouses, it was traditionally crafted to make the most of seasonal produce and readily available ingredients, transforming simple components into a hearty, nourishing meal. It’s a testament to the ingenuity of home cooks who knew how to create something extraordinary from everyday items, providing sustenance and joy after a long day.
People worldwide adore this dish not just for its incredible taste—a harmonious blend of savory notes, tender textures, and aromatic spices—but also for its amazing versatility and the sheer comfort it brings. Whether you’re seeking a cozy meal on a chilly evening, a satisfying lunch, or a centerpiece for a family gathering, this recipe delivers. Its rich, deep flavors and satisfying consistency make it an instant favorite, offering a culinary hug that genuinely feels like home. I am confident that once you try this recipe, it will become a cherished part of your own cooking repertoire.

Ingredients:
- For the Bolognese Sauce (Ragu):
- 1 tablespoon olive oil
- 1 tablespoon unsalted butter
- 1 large yellow onion, finely diced (about 1.5 cups)
- 2 carrots, peeled and finely diced (about 1 cup)
- 2 celery stalks, finely diced (about 1 cup)
- 2 cloves garlic, minced
- 1 pound (450g) ground beef, 80/20 lean-to-fat ratio recommended for flavor
- 0.5 pound (225g) ground pork
- 0.25 cup (60ml) dry red wine (like Chianti or Merlot)
- 1 (28-ounce/794g) can crushed tomatoes, high quality preferred
- 0.5 cup (120ml) whole milk
- 0.5 cup (120ml) beef broth (low sodium)
- 2 bay leaves
- 0.5 teaspoon dried oregano
- Salt and freshly ground black pepper to taste
- A pinch of freshly grated nutmeg
- For the Bechamel Sauce:
- 0.5 cup (113g) unsalted butter
- 0.5 cup (60g) all-purpose flour
- 4 cups (960ml) whole milk, warmed
- 0.5 teaspoon salt
- 0.25 teaspoon white pepper
- A pinch of freshly grated nutmeg
- For Assembling the Lasagna:
- 12-15 sheets no-boil lasagna noodles (or fresh pasta sheets, slightly blanched if not fresh)
- 2 cups (220g) freshly grated Parmesan cheese, divided
- 1 cup (110g) shredded mozzarella cheese (optional, for a gooey finish)
- Fresh basil or parsley for garnish (optional)
Preparing the Bolognese Sauce
- Start the Mirepoix: Grab a large, heavy-bottomed pot or Dutch oven and set it over medium heat. Add the olive oil and butter. Once the butter has melted and the mixture is shimmering, toss in your finely diced onion, carrots, and celery. This trio, often called a mirepoix, forms the aromatic base of our sauce, lending a deep, complex flavor that is truly essential.
- Sauté the Vegetables: Cook the vegetables gently for about 10-12 minutes, stirring occasionally, until they have softened considerably and the onion becomes translucent. We’re not looking for any browning here; just a sweet, tender foundation. This slow sauté is crucial for building layers of flavor and ensures your sauce has that wonderfully mellow, sweet vegetable undertone. Resist the urge to rush this step, as patience here pays off immensely in the final taste of your Bolognese.
- Add the Garlic: Now, stir in the minced garlic and cook for just another minute until fragrant. Be careful not to burn it, as burnt garlic can impart a bitter and unpleasant taste to your beautiful sauce, which would be a shame after all that careful sautéing. You’ll know it’s ready when you can smell its inviting aroma filling your kitchen.
- Brown the Meats: Increase the heat slightly to medium-high. Add the ground beef and ground pork to the pot. Break up the meat with a wooden spoon, ensuring there are no large clumps. Cook until the meat is thoroughly browned all over, which usually takes about 8-10 minutes. This step is vital for developing rich, savory flavor through the Maillard reaction. Once browned, carefully drain off any excess fat from the pot. This prevents the sauce from becoming greasy and ensures the other flavors can shine through without being masked by excessive fat.
- Deglaze with Wine: Pour in the dry red wine. Using your wooden spoon, scrape up all the delicious browned bits (fond) from the bottom of the pot. These bits are packed with concentrated flavor and will add immense depth to your sauce! Let the wine simmer and reduce until almost completely evaporated, about 5-7 minutes. This concentrates the wine’s flavor, adds a lovely acidity, and burns off the alcohol, leaving behind only the good stuff.
- Add Liquids and Seasonings: Stir in the crushed tomatoes, whole milk, beef broth, bay leaves, and dried oregano. Bring the mixture to a gentle simmer. The whole milk might seem unusual to some, but it’s a traditional Bolognese ingredient that tenderizes the meat, mutes the acidity of the tomatoes, and contributes to a wonderfully creamy, rich mouthfeel without actually adding a lot of cream. Don’t skip this step – it’s a game-changer for authentic Bolognese.
- Simmer the Ragu: Once simmering, reduce the heat to low, cover the pot partially (leaving a small gap for steam to escape), and let the Bolognese cook slowly for at least 2 to 3 hours. For truly exceptional, deeply melded flavors, I highly recommend letting it simmer for up to 4 hours. The longer it simmers, the more the flavors meld and deepen, creating a truly exceptional sauce that tastes like it came straight from a nonna’s kitchen. Stir it occasionally to prevent sticking and ensure even cooking, especially during the last hour.
- Final Seasoning for Bolognese: After the long simmer, remove and discard the bay leaves. Season the sauce generously with salt, freshly ground black pepper, and a pinch of freshly grated nutmeg. The nutmeg adds a subtle warmth and complexity that elevates the entire sauce. Taste and adjust seasonings as needed. You want a well-balanced flavor that sings on your palate – a perfect harmony of savory, sweet, and umami. The sauce should be thick, rich, and deeply flavorful, with the meat so tender it almost melts in your mouth.
Crafting the Bechamel Sauce
- Melt the Butter: In a separate medium saucepan, melt the unsalted butter over medium heat. Keep a close eye on it to ensure it doesn’t brown. We want a pale, creamy sauce, so browning the butter would change its flavor profile too much. Gentle heat is key here.
- Create a Roux: Once the butter is fully melted and shimmering, sprinkle in the all-purpose flour. Whisk continuously for 1-2 minutes until a smooth paste forms – this is your roux. It should have a pale, sandy color and a slightly nutty aroma. Cooking the flour sufficiently is crucial, as it prevents a raw, starchy taste in your finished sauce and ensures maximum thickening power.
- Gradually Add Milk: Now, slowly start whisking in the warmed whole milk, a little at a time, ensuring each addition is fully incorporated into the roux before adding more. This gradual approach is the secret to preventing lumps in your Bechamel. Initially, the mixture will be very thick, almost like a dough, but as you add more milk, it will loosen up and become smoother. Continue whisking constantly to keep it silky and lump-free until all the milk has been added and the sauce is smooth and creamy.
- Thicken the Sauce: Bring the Bechamel to a gentle simmer over medium heat, continuing to whisk occasionally, especially as it starts to thicken. Let it cook for about 5-7 minutes, allowing the flour to fully hydrate and the sauce to reach its desired consistency. It should be thick enough to generously coat the back of a spoon, resembling a thin gravy or heavy cream. If it gets too thick, you can always whisk in a touch more warm milk to adjust.
- Season the Bechamel: Remove the sauce from the heat. Stir in the salt, white pepper, and a pinch of freshly grated nutmeg. White pepper is preferred here to maintain the sauce’s pale color, and the nutmeg adds that classic, subtle warmth that is characteristic of a good Bechamel. Taste and adjust seasoning as necessary. Set aside, keeping it warm if possible, or cover it directly with plastic wrap pressed onto the surface to prevent a skin from forming if you’re not assembling immediately.
Assembling and Baking the Lasagna
- Preheat and Prepare: Preheat your oven to 375°F (190°C). Lightly grease a 9×13-inch (23x33cm) baking dish with a little olive oil or butter. This helps prevent sticking and makes cleanup a bit easier.
- First Layer of Sauce: Spread about 0.5 cup of your rich Bolognese sauce evenly across the bottom of the prepared baking dish. This creates a flavorful base and, more importantly, provides moisture for the first layer of pasta to cook properly without drying out or sticking.
- Pasta Layer: Arrange a single layer of lasagna noodles over the Bolognese sauce. Depending on your noodles (especially if using no-boil), you might need to overlap them slightly or break them to fit perfectly into your dish. If you are using no-boil noodles, ensure they are fully covered by sauce later. If using fresh pasta, ensure it’s pliable and slightly blanched if they aren’t fresh from the package.
- Bolognese Layer: Spoon about 1.5 to 2 cups of the Bolognese sauce over the pasta, spreading it out to cover the noodles completely from edge to edge. Don’t be shy; this is where the main flavor explosion comes from!
- Bechamel Layer: Drizzle about 0.75 to 1 cup of Bechamel sauce over the Bolognese layer. Ensure an even distribution, as this creamy sauce acts as a binder and adds a luxurious texture throughout the lasagna.
- Cheese Layer (Parmesan): Sprinkle a generous amount of freshly grated Parmesan cheese (about 0.5 cup) over the Bechamel. This adds a salty, nutty depth and helps create that wonderful cheesy pull and golden crust.
- Repeat Layers: Repeat the layering process: pasta, Bolognese, Bechamel, and Parmesan. Continue until you have used most of your ingredients, usually making 3-4 layers of pasta depending on the depth of your dish. Make sure your final layer of pasta is completely covered by sauce to ensure it cooks through properly and doesn’t become dry or crispy.
- Top Layer: For the very top layer, spread any remaining Bolognese thinly, then generously pour over the remaining Bechamel sauce, ensuring it covers all the pasta. This creates a beautiful, creamy crust that will brown beautifully in the oven.
- Final Cheese Topping: Liberally sprinkle the remaining Parmesan cheese over the top. If you desire an extra gooey, stretchy layer, now is the time to add the shredded mozzarella cheese over the Parmesan. This is optional but highly recommended for cheese lovers who enjoy that classic stringy pull in their lasagna!
- Cover and Bake: Loosely cover the baking dish with aluminum foil. This prevents the top from browning too quickly and helps the noodles cook through evenly by trapping steam. Place the lasagna in the preheated oven and bake for 25 minutes.
- Uncover and Finish Baking: After 25 minutes, carefully remove the foil. Return the lasagna to the oven and continue baking for another 20-30 minutes, or until the top is golden brown, bubbly, and the cheese is melted and slightly caramelized at the edges. You should see the sauce gently bubbling up around the sides, indicating it’s heated through.
- The Crucial Resting Period: This step is just as important as the baking, if not more! Once out of the oven, let the lasagna rest for at least 15-20 minutes before slicing and serving. This resting period allows the layers to set, preventing a messy collapse when you cut into it. The sauces will firm up slightly, and the flavors will continue to meld beautifully. Patience is a virtue here, I promise it’s worth every extra minute!
- Serve and Garnish: Slice your perfectly layered lasagna into generous portions. Garnish with fresh basil or parsley, if desired, for a pop of color and freshness that truly elevates the presentation. Serve hot and enjoy the fruits of your labor! This classic Lasagna Bolognese is truly a labor of love, but every single bite is a delicious, comforting reward that will make all your efforts worthwhile.
Conclusion:
This recipe, for me, is more than just a collection of ingredients; it’s an experience. I truly believe it’s a must-try for anyone looking to add a truly special, yet surprisingly straightforward, dish to their culinary repertoire. What makes it stand out, you ask? Well, first and foremost, it’s the incredible depth of flavor. Each bite delivers a harmonious blend that is both comforting and exciting, a testament to how simple, fresh components can come together to create something truly extraordinary. I’ve found that it strikes that perfect balance – it feels gourmet, like something you’d order in a high-end restaurant, but it’s entirely achievable in your own kitchen. It demystifies the idea that complex flavors require complex techniques. In fact, one of its greatest strengths is its relative ease of preparation, making it an ideal choice for a busy weeknight when you crave something satisfying and delicious, or when you want to impress guests without spending hours slaving over a hot stove. It’s also incredibly forgiving, allowing for minor adjustments without compromising the magnificent outcome. I’ve personally seen the delighted faces around my table when this dish is served, and that, for me, is the ultimate reward. It brings people together, sparks conversation, and leaves a lasting impression – all the hallmarks of a truly unforgettable meal.
Once you’ve experienced the sheer delight of this recipe, I’m sure you’ll want to explore all the wonderful ways to enjoy and adapt it.
Creative Serving Ideas for Every Occasion
For a simple, elegant dinner, I love serving it alongside a crisp green salad with a light vinaigrette and perhaps some crusty artisan bread to soak up every last drop of that delectable sauce. If you’re looking to make it a more substantial meal, consider pairing it with a fluffy quinoa pilaf or a wild rice blend, which beautifully complements the main flavors without overpowering them. For a brunch twist, it can be fantastic served with a poached egg on top, allowing the runny yolk to mingle with the rich sauce – truly a weekend treat! This also makes a phenomenal addition to a potluck spread; its unique flavor profile always stands out and garners compliments.
Tailoring the Recipe to Your Taste and Dietary Needs
This recipe is also incredibly versatile, lending itself beautifully to various twists and personalizations. If you enjoy a bit of heat, I suggest adding a pinch of red pepper flakes during the cooking process to give it a subtle kick. For those who prefer a vegetarian option, you could easily substitute the main protein with substantial mushrooms like portobellos or king oyster mushrooms, or even hearty chickpeas, adjusting cooking times accordingly to ensure they are perfectly tender and infused with flavor. To add a touch of freshness and vibrant color, a generous sprinkle of fresh chopped herbs like parsley, chives, or cilantro right before serving can elevate the dish even further, adding a bright counterpoint to the rich sauce. And if you have any leftovers, which I doubt you will, I’ve found it makes a fantastic filling for wraps or a base for a hearty lunch salad the next day, proving its versatility beyond the dinner table. Don’t be afraid to experiment; cooking is, after all, an adventure that thrives on personal touches!
So, now that you’ve heard all about why this recipe has become one of my absolute favorites, I genuinely encourage you to roll up your sleeves and give it a try. You won’t regret embarking on this delightful culinary journey. The joy of creating something so profoundly satisfying, from scratch, is an experience I wish everyone could have. Please don’t keep your successes (or even your experimental variations!) to yourself. I would absolutely love to hear about your experience in the kitchen with this dish. Did you add a unique twist that turned out to be a stroke of genius? Did your family or friends rave about it, asking for the recipe immediately? Share your thoughts, your photos, and your triumphs in the comments below! Connecting with fellow food enthusiasts and seeing how you make these recipes your own is one of the most rewarding aspects of sharing my passion for cooking. And if you’re ever looking to reference this particular recipe again, perhaps noting its unique identifier, ?p=10859, will help you navigate back to this delicious journey on my blog quickly. I can’t wait to see what wonderful creations you come up with. Happy cooking, my friends!
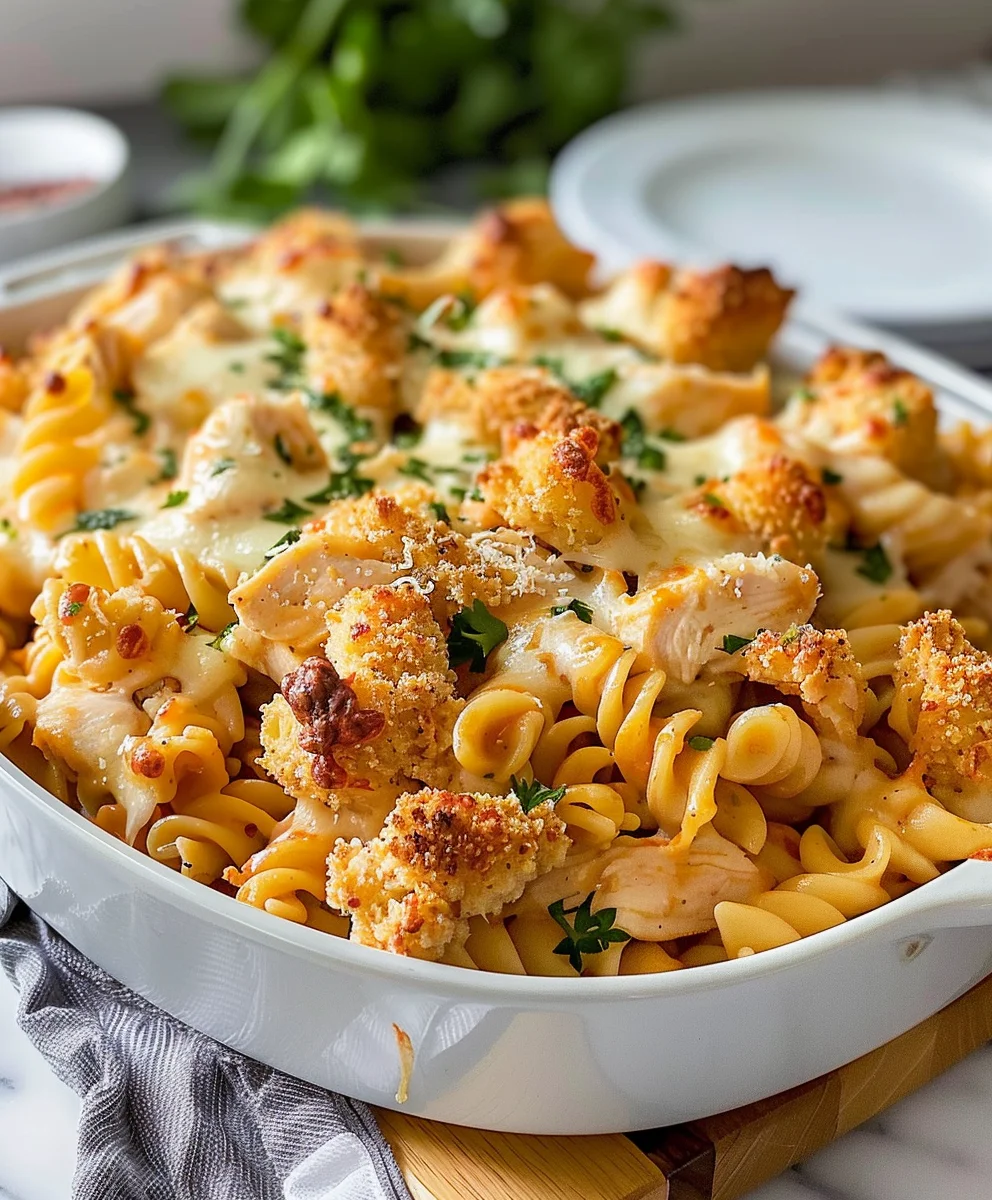
Non-Alcohol Beef Dinner Recipe: Quick, Easy & Flavorful Meal
Discover the ultimate comfort dish! This recipe promises to warm your soul and delight your palate. A beloved classic, it offers a harmonious blend of savory notes and tender textures, bringing incredible versatility and sheer comfort to any meal. Its rich, deep flavors make it an instant favorite, offering a culinary hug that genuinely feels like home.
Ingredients
-
1 lb ground beef
-
8 oz elbow macaroni
-
2 cups sharp cheddar cheese, shredded
-
2 cups whole milk
-
4 tbsp unsalted butter
-
¼ cup all-purpose flour
-
1 tsp garlic powder
-
Salt and pepper to taste
-
½ cup breadcrumbs (optional)
Instructions
- Step 1
Brown ground beef in a large skillet over medium-high heat. Drain excess fat. Season beef with salt and pepper, then set aside. Cook elbow macaroni according to package directions until al dente. Drain well. - Step 2
In a medium saucepan, melt 4 tbsp unsalted butter over medium heat. Whisk in ¼ cup all-purpose flour and cook for 1 minute to create a roux. Gradually whisk in 2 cups whole milk until smooth. Bring to a simmer, stirring, until the sauce thickens (about 3-5 minutes). - Step 3
Remove the sauce from heat. Stir in 2 cups shredded sharp cheddar cheese, 1 tsp garlic powder, salt, and pepper until the cheese is melted and the sauce is smooth. Fold in the cooked macaroni and seasoned ground beef, ensuring everything is well coated. - Step 4
Transfer the mixture to a lightly greased 9×13-inch baking dish. If desired, sprinkle ½ cup breadcrumbs evenly over the top for a crispy crust. Bake in a preheated oven at 375°F (190°C) for 20-25 minutes, or until bubbly and golden brown. - Step 5
Allow the baked dish to rest for at least 5 minutes before serving to let the sauce set. Serve hot and enjoy this comforting beef dinner.
Important Information
Nutrition Facts (Per Serving)
It is important to consider this information as approximate and not to use it as definitive health advice.
Allergy Information
Please check ingredients for potential allergens and consult a health professional if in doubt.