Crispy Chinese Meat Pies, those golden-brown pockets of savory goodness, are calling your name! Imagine sinking your teeth into a flaky, perfectly crisp exterior, giving way to a juicy, flavorful filling of seasoned meat and aromatic spices. Trust me, once you try these, you’ll be hooked. I’m so excited to share my family’s recipe with you!
These delightful pies, known as xiàn bǐng in Mandarin, have a rich history rooted in Northern Chinese cuisine. Passed down through generations, they were often a staple during festive occasions and family gatherings. The act of making them was, and still is, a labor of love, a way to connect with heritage and share warmth with loved ones.
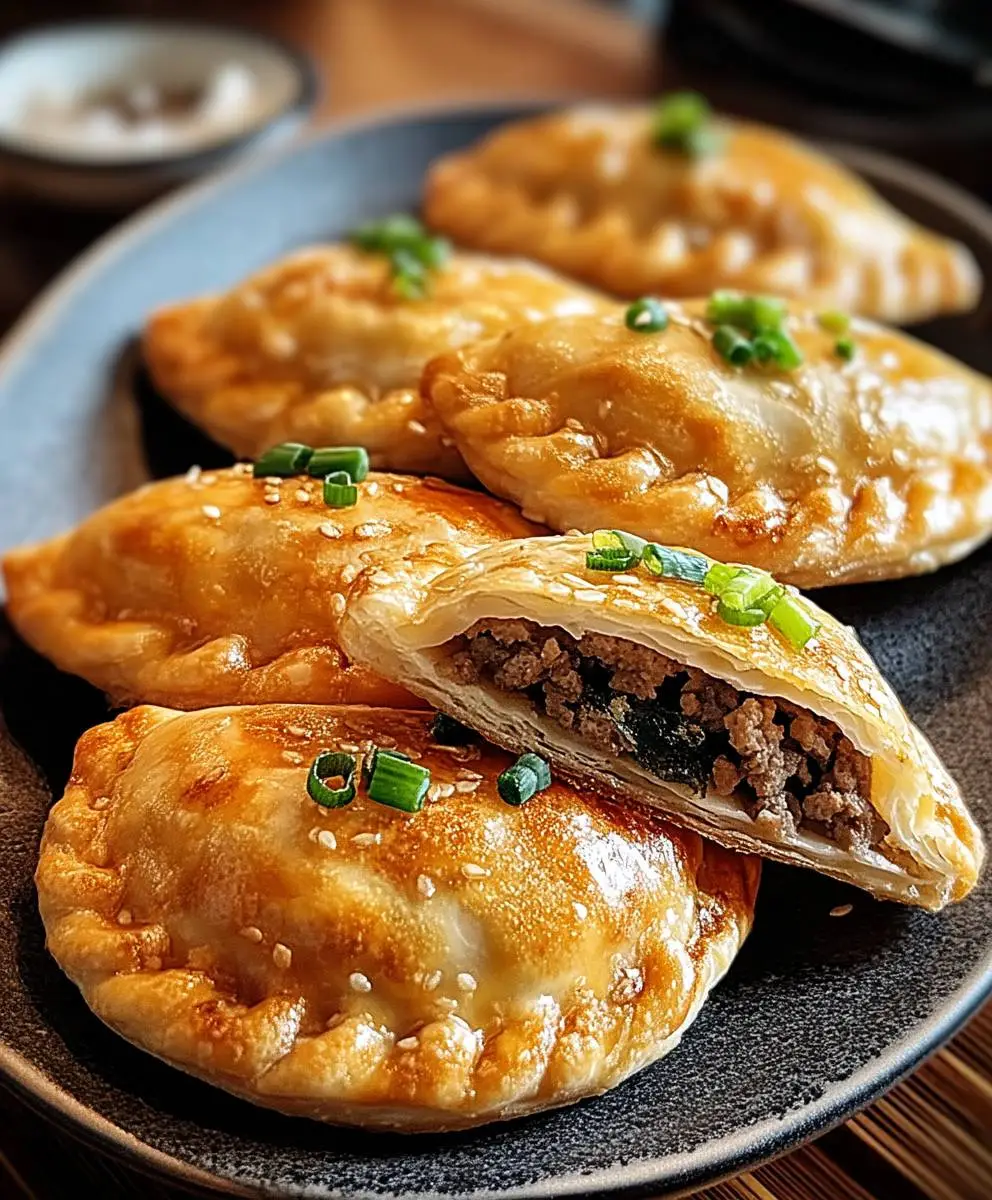
What makes Crispy Chinese Meat Pies so irresistible? It’s the perfect combination of textures and flavors. The crispy, almost shattering crust contrasts beautifully with the tender, savory filling. The savory meat, often a blend of ground pork and beef, is seasoned with ginger, garlic, soy sauce, and sesame oil, creating an umami explosion in every bite. They’re also incredibly convenient – perfect as a snack, a light meal, or even packed for lunch. So, let’s get cooking and bring a taste of authentic Chinese comfort food to your kitchen!

Ingredients:
- For the Dough:
- 3 cups all-purpose flour, plus more for dusting
- 1 cup warm water (about 110°F)
- 1 teaspoon salt
- 2 tablespoons vegetable oil
- For the Filling:
- 1 pound ground pork (or a mixture of pork and beef)
- 1 cup finely chopped Napa cabbage
- 1/2 cup finely chopped green onions
- 1/4 cup finely chopped fresh ginger
- 2 tablespoons soy sauce
- 1 tablespoon sesame oil
- 1 tablespoon rice wine (or dry sherry)
- 1 teaspoon sugar
- 1/2 teaspoon white pepper
- 1/4 cup chicken broth (or water)
- For Cooking:
- Vegetable oil, for pan-frying
- Optional: Sesame seeds, for garnish
Preparing the Dough:
Okay, let’s get started with the dough. This is a crucial step, so pay close attention! A good dough makes all the difference in achieving that perfect crispy crust.
- Combine Dry Ingredients: In a large bowl, whisk together the flour and salt. This ensures the salt is evenly distributed throughout the dough.
- Add Wet Ingredients: Make a well in the center of the flour mixture. Pour in the warm water and vegetable oil.
- Mix the Dough: Gradually incorporate the flour into the wet ingredients, starting from the center and working your way outwards. Use a wooden spoon or your hands to mix until a shaggy dough forms.
- Knead the Dough: Turn the dough out onto a lightly floured surface. Knead for about 8-10 minutes, until the dough is smooth and elastic. This develops the gluten, which gives the dough its structure and chewiness. If the dough is too sticky, add a little more flour, one tablespoon at a time. If it’s too dry, add a teaspoon of water at a time.
- Rest the Dough: Form the dough into a ball. Place it back in the bowl, cover with a damp cloth or plastic wrap, and let it rest for at least 30 minutes, or up to an hour. This allows the gluten to relax, making the dough easier to roll out later. The longer it rests, the better!
Preparing the Filling:
While the dough is resting, let’s prepare the delicious filling. This is where the flavor really shines, so don’t skimp on the ingredients!
- Combine Filling Ingredients: In a large bowl, combine the ground pork, Napa cabbage, green onions, and ginger. Make sure everything is finely chopped so it mixes evenly.
- Add Seasonings: Add the soy sauce, sesame oil, rice wine (or dry sherry), sugar, and white pepper to the bowl.
- Mix Thoroughly: Use your hands (or a spoon) to thoroughly mix all the ingredients together. Make sure the seasonings are evenly distributed throughout the meat mixture.
- Add Moisture: Gradually add the chicken broth (or water) to the mixture, mixing until the filling is moist but not soggy. This helps to keep the filling juicy during cooking.
- Refrigerate (Optional): Cover the bowl and refrigerate the filling for at least 30 minutes. This allows the flavors to meld together and makes the filling easier to handle.
Assembling the Meat Pies:
Now for the fun part – assembling the meat pies! This requires a little patience, but the results are well worth the effort.
- Divide the Dough: After the dough has rested, lightly flour your work surface. Divide the dough into about 16-20 equal pieces. You can use a knife or a dough scraper for this.
- Roll Out the Dough: Roll each piece of dough into a thin circle, about 4-5 inches in diameter. The thinner the dough, the crispier the crust will be. Try to keep the center slightly thicker than the edges.
- Fill the Dough: Place about 2-3 tablespoons of the meat filling in the center of each dough circle. Don’t overfill, or the pies will be difficult to seal.
- Seal the Pies: Fold the dough over the filling to form a half-moon shape. Pinch the edges tightly to seal, making sure there are no gaps. You can also crimp the edges with a fork for a decorative touch and to ensure a secure seal.
- Flatten Slightly: Gently flatten each meat pie with your hand or a rolling pin. This helps them cook evenly and prevents them from puffing up too much.
Cooking the Meat Pies:
Finally, it’s time to cook these beauties! Pan-frying is the key to achieving that perfect golden-brown, crispy crust.
- Heat the Oil: Heat about 2-3 tablespoons of vegetable oil in a large skillet or frying pan over medium heat. The oil should be hot enough to sizzle when you add a drop of water.
- Cook the Pies: Carefully place the meat pies in the hot oil, making sure not to overcrowd the pan. Cook in batches if necessary.
- Fry Until Golden Brown: Cook for about 4-5 minutes per side, or until the pies are golden brown and crispy. Flip them carefully with a spatula.
- Ensure Filling is Cooked: To ensure the filling is cooked through, you can add a tablespoon or two of water to the pan, cover it, and let the pies steam for a few minutes. This will help to cook the filling without burning the crust.
- Remove and Drain: Remove the cooked meat pies from the pan and place them on a wire rack or paper towels to drain excess oil.
- Garnish (Optional): Sprinkle with sesame seeds, if desired, for added flavor and visual appeal.
Serving and Enjoying:
These crispy Chinese meat pies are best served hot and fresh. They make a great appetizer, snack, or even a light meal. Enjoy them on their own, or with a dipping sauce like soy sauce, vinegar, or chili oil.
Tips for Success:
- Dough Consistency: The dough should be soft and pliable, but not sticky. Adjust the amount of flour or water as needed to achieve the right consistency.
- Filling Flavor: Don’t be afraid to experiment with the filling ingredients. You can add other vegetables, such as mushrooms or carrots, or adjust the seasonings to your liking.
- Cooking Temperature: It’s important to maintain a consistent medium heat while cooking the pies. If the heat is too high, the crust will burn before the filling is cooked through. If the heat is too low, the pies will be greasy.
- Freezing: You can freeze uncooked meat pies for later use. Simply place them on a baking sheet lined with parchment paper and freeze until solid. Then, transfer them to a freezer bag or container. When ready to cook, thaw them in the refrigerator overnight and cook as directed.
I hope you enjoy making and eating these delicious crispy Chinese meat pies! They’re a labor of love, but the results are well worth the effort. Happy cooking!
Conclusion:
And there you have it! These Crispy Chinese Meat Pies are more than just a recipe; they’re a flavor explosion waiting to happen in your kitchen. I truly believe this is a must-try recipe for anyone who loves savory, satisfying snacks or appetizers. The combination of the flaky, golden-brown crust and the juicy, flavorful meat filling is simply irresistible. It’s the kind of dish that disappears in minutes, leaving everyone wanting more.
But why is this recipe so special? It’s the perfect balance of textures and tastes. The crispy exterior gives way to a tender, savory interior, creating a delightful contrast that keeps you coming back for bite after bite. Plus, it’s surprisingly easy to make, even for beginner cooks. Don’t let the “pie” part intimidate you; the process is straightforward, and the results are well worth the effort.
Serving Suggestions and Variations:
These Crispy Chinese Meat Pies are incredibly versatile. Serve them as a delicious appetizer at your next gathering, a satisfying snack on a cozy afternoon, or even as a light meal paired with a simple salad. For a truly authentic experience, try dipping them in a mixture of soy sauce, rice vinegar, and a touch of sesame oil. A sprinkle of chili flakes adds a nice kick if you like a little heat.
Feeling adventurous? Here are a few variations you might enjoy:
* Spicy Meat Pies: Add a tablespoon of chili garlic sauce or sriracha to the meat filling for a fiery twist.
* Vegetarian Meat Pies: Substitute the ground meat with finely chopped mushrooms, tofu, or a combination of vegetables like carrots, cabbage, and scallions. Be sure to adjust the seasonings accordingly.
* Pork and Shrimp Meat Pies: Combine ground pork with finely chopped shrimp for a seafood-infused delight.
* Mini Meat Pies: Make smaller, bite-sized pies for easy snacking and serving at parties.
Don’t be afraid to experiment with different fillings and seasonings to create your own signature version of these delicious pies. The possibilities are endless!
I’m confident that you’ll love these Crispy Chinese Meat Pies as much as I do. They’re a crowd-pleaser, a comfort food, and a guaranteed hit at any occasion. So, what are you waiting for? Gather your ingredients, roll up your sleeves, and get ready to embark on a culinary adventure.
Your Turn to Create!
I’m so excited for you to try this recipe and experience the joy of making these incredible pies. Once you’ve had a chance to whip them up, I’d love to hear about your experience. Did you make any variations? What did your family and friends think? Share your photos and stories in the comments below! Your feedback is invaluable, and it helps me continue to create and share recipes that you’ll love. Let’s spread the joy of cooking and delicious food together! I encourage you to try this crispy Chinese meat pies recipe and share it with your loved ones. Happy cooking!
Crispy Chinese Meat Pies: The Ultimate Guide to Making Them at Home
Savory and crispy pan-fried meat pies filled with juicy pork, cabbage, and aromatic spices. A delicious homemade treat!
Ingredients
Instructions
Recipe Notes
- Dough Consistency: The dough should be soft and pliable, but not sticky. Adjust the amount of flour or water as needed to achieve the right consistency.
- Filling Flavor: Don’t be afraid to experiment with the filling ingredients. You can add other vegetables, such as mushrooms or carrots, or adjust the seasonings to your liking.
- Cooking Temperature: It’s important to maintain a consistent medium heat while cooking the pies. If the heat is too high, the crust will burn before the filling is cooked through. If the heat is too low, the pies will be greasy.
- Freezing: You can freeze uncooked meat pies for later use. Simply place them on a baking sheet lined with parchment paper and freeze until solid. Then, transfer them to a freezer bag or container. When ready to cook, thaw them in the refrigerator overnight and cook as directed.