Cheesy Pizza Pockets: Who doesn’t love the taste of pizza, conveniently packaged in a warm, handheld pocket of deliciousness? I know I do! Imagine biting into a golden-brown, perfectly baked crust, only to be greeted by a molten core of gooey cheese and your favorite pizza toppings. It’s a symphony of flavors and textures that’s simply irresistible.
While the exact origins of the pizza pocket are debated, its popularity exploded in the latter half of the 20th century, offering a quick and satisfying meal for busy families. It’s a testament to our love for portable comfort food, a culinary innovation that took the classic pizza experience and made it even more accessible. Think of it as a personal pizza, perfectly portioned and ready to enjoy anytime, anywhere.
What makes cheesy pizza pockets so universally appealing? It’s the combination of convenience, affordability, and, of course, that incredible taste. The crispy exterior gives way to a soft, chewy interior, while the melted cheese and savory fillings create a flavor explosion in every bite. Whether you’re craving a quick lunch, a satisfying snack, or a fun party appetizer, these pockets are always a crowd-pleaser. Plus, they’re incredibly customizable – you can fill them with anything your heart desires, from classic pepperoni and mushrooms to more adventurous combinations like BBQ chicken or spinach and artichoke. Get ready to experience pizza in a whole new, delightfully portable way!

Ingredients:
- For the Dough:
- 3 ½ cups all-purpose flour, plus more for dusting
- 1 teaspoon sugar
- 1 teaspoon salt
- 1 packet (2 ¼ teaspoons) active dry yeast
- 1 ¼ cups warm water (105-115°F)
- 2 tablespoons olive oil, plus more for greasing
- For the Filling:
- 1 pound Italian sausage, removed from casings
- 1 medium onion, finely chopped
- 2 cloves garlic, minced
- 1 (28 ounce) can crushed tomatoes
- 1 (15 ounce) can tomato sauce
- 1 teaspoon dried oregano
- ½ teaspoon dried basil
- ¼ teaspoon red pepper flakes (optional)
- Salt and pepper to taste
- 8 ounces mozzarella cheese, shredded
- 4 ounces provolone cheese, shredded
- 2 ounces parmesan cheese, grated
- For the Egg Wash:
- 1 large egg
- 1 tablespoon water
- Optional Toppings:
- Sesame seeds
- Dried herbs (Italian blend, oregano, basil)
- Garlic powder
Preparing the Dough:
Alright, let’s get started with the dough! This is the foundation of our cheesy pizza pockets, so we want to make sure it’s just right. Don’t be intimidated; it’s easier than you think!
- Combine Dry Ingredients: In a large bowl, whisk together the flour, sugar, and salt. This ensures everything is evenly distributed before we add the wet ingredients.
- Activate the Yeast: In a separate small bowl, dissolve the yeast in the warm water. Let it sit for about 5-10 minutes, or until it gets foamy. This means the yeast is alive and kicking, ready to make our dough rise. If it doesn’t foam, your yeast might be old, and you’ll need to get a fresh packet.
- Combine Wet and Dry Ingredients: Pour the yeast mixture and olive oil into the bowl with the dry ingredients.
- Mix the Dough: Using a wooden spoon or your hands, mix everything together until a shaggy dough forms. It will be a bit sticky at this point, and that’s okay.
- Knead the Dough: Turn the dough out onto a lightly floured surface. Knead it for 8-10 minutes, or until it becomes smooth and elastic. If the dough is too sticky, add a little more flour, a tablespoon at a time, until it’s manageable. You can also use a stand mixer with a dough hook attachment for this step.
- First Rise: Lightly grease a large bowl with olive oil. Place the dough in the bowl, turning to coat it with the oil. Cover the bowl with plastic wrap or a clean kitchen towel. Let it rise in a warm place for about 1-1.5 hours, or until it has doubled in size. This is where the magic happens! The yeast is working its wonders, creating those air pockets that make our dough light and airy.
Making the Filling:
While the dough is rising, let’s get started on the delicious filling. This is where we can really customize the pizza pockets to our liking. Feel free to add your favorite pizza toppings!
- Cook the Sausage: In a large skillet over medium heat, cook the Italian sausage, breaking it up with a spoon, until it’s browned and cooked through. Drain off any excess grease.
- Sauté the Onion and Garlic: Add the chopped onion to the skillet and cook until softened, about 5 minutes. Then, add the minced garlic and cook for another minute, until fragrant. Be careful not to burn the garlic!
- Add the Tomatoes and Seasonings: Stir in the crushed tomatoes, tomato sauce, oregano, basil, and red pepper flakes (if using). Season with salt and pepper to taste.
- Simmer the Sauce: Bring the sauce to a simmer, then reduce the heat and let it simmer for about 15-20 minutes, stirring occasionally, to allow the flavors to meld together. This will also help to thicken the sauce slightly.
- Cool the Filling: Remove the skillet from the heat and let the filling cool completely. This is important because we don’t want to melt the cheese when we assemble the pizza pockets.
- Combine Cheeses: In a separate bowl, combine the shredded mozzarella, provolone, and grated parmesan cheeses.
Assembling the Pizza Pockets:
Now for the fun part – putting everything together! This is where our pizza pockets really start to take shape.
- Preheat Oven: Preheat your oven to 400°F (200°C). Line a baking sheet with parchment paper.
- Divide the Dough: Once the dough has doubled in size, punch it down gently to release the air. Turn it out onto a lightly floured surface. Divide the dough into 12 equal pieces.
- Roll Out the Dough: Roll each piece of dough into a circle about 5-6 inches in diameter. You want them to be thin enough to fold easily, but not so thin that they tear.
- Add the Filling: Place about ¼ cup of the cooled sausage filling in the center of each dough circle. Top with about ¼ cup of the cheese mixture. Don’t overfill them, or they’ll be difficult to seal.
- Seal the Pizza Pockets: Fold the dough circle in half to form a half-moon shape. Pinch the edges together tightly to seal. You can also use a fork to crimp the edges for a decorative touch and to ensure they’re well sealed.
- Place on Baking Sheet: Place the assembled pizza pockets on the prepared baking sheet, leaving some space between them.
Baking the Pizza Pockets:
Almost there! Just a few more minutes in the oven, and we’ll have golden brown, cheesy pizza pockets ready to enjoy.
- Prepare the Egg Wash: In a small bowl, whisk together the egg and water.
- Brush with Egg Wash: Brush the tops of the pizza pockets with the egg wash. This will give them a beautiful golden brown color and a nice sheen.
- Add Optional Toppings: Sprinkle the tops of the pizza pockets with sesame seeds, dried herbs, or garlic powder, if desired.
- Bake: Bake for 15-20 minutes, or until the pizza pockets are golden brown and the cheese is melted and bubbly.
- Cool Slightly: Let the pizza pockets cool on the baking sheet for a few minutes before transferring them to a wire rack to cool completely. This will prevent them from getting soggy on the bottom.
Serving and Storage:
These cheesy pizza pockets are best served warm, straight from the oven. They’re perfect for a quick lunch, a satisfying snack, or even a fun party appetizer. You can serve them with a side of marinara sauce for dipping, if you like.
Storage: Leftover pizza pockets can be stored in an airtight container in the refrigerator for up to 3 days. To reheat, you can microwave them for a minute or two, or bake them in a preheated oven at 350°F (175°C) for about 10-15 minutes, or until heated through.
Freezing: For longer storage, you can freeze the pizza pockets. Let them cool completely, then wrap them individually in plastic wrap and place them in a freezer bag. They can be stored in the freezer for up to 2 months. To reheat, bake them from frozen in a preheated oven at 375°F (190°C) for about 20-25 minutes, or until heated through.
Enjoy your homemade cheesy pizza pockets! I hope you love them as much as I do. Feel free to experiment with different fillings and toppings to create your own unique variations.
Conclusion:
And there you have it! These Cheesy Pizza Pockets are more than just a snack; they’re a little bundle of joy, a comforting hug in pastry form, and a guaranteed crowd-pleaser. I truly believe this recipe is a must-try for anyone who loves pizza, enjoys easy baking, or simply wants to add a touch of homemade goodness to their day. The combination of the flaky, golden crust and the gooey, cheesy, and flavorful filling is simply irresistible. It’s the kind of recipe that becomes a family favorite, requested time and time again.
But what truly sets these pizza pockets apart is their versatility. While the recipe I’ve shared is a classic combination, the possibilities are truly endless. Feeling adventurous? Try adding some cooked Italian sausage, pepperoni, or even some crumbled bacon to the filling. For the veggie lovers, consider incorporating some sautéed mushrooms, bell peppers, or spinach. A sprinkle of red pepper flakes will add a delightful kick for those who like a little heat.
These Cheesy Pizza Pockets are also incredibly adaptable when it comes to serving. They’re perfect as a quick and easy lunch, a satisfying after-school snack, or even a fun appetizer for parties. Serve them with a side of marinara sauce for dipping, or get creative and offer a variety of dipping sauces like ranch dressing, pesto, or even a spicy sriracha mayo. For a more complete meal, pair them with a simple salad or a bowl of soup.
Beyond the filling and dipping options, you can also experiment with the crust. While I’ve used store-bought puff pastry for convenience, you could certainly make your own from scratch if you’re feeling ambitious. Or, for a slightly different texture, try using pizza dough instead of puff pastry. Just remember to adjust the baking time accordingly.
I’ve made these Cheesy Pizza Pockets countless times, and each time I tweak the recipe a little bit to suit my mood and the ingredients I have on hand. That’s the beauty of this recipe – it’s forgiving, adaptable, and always delicious.
I truly encourage you to give this recipe a try. It’s a fun and rewarding experience, and I’m confident that you’ll love the results. Don’t be afraid to get creative and experiment with different fillings and toppings to create your own signature pizza pocket.
Once you’ve made your own batch of these delightful Cheesy Pizza Pockets, I’d love to hear about your experience! Share your photos and variations on social media using #CheesyPizzaPockets and tag me so I can see your creations. Let me know what fillings you tried, what dipping sauces you used, and any other tips or tricks you discovered along the way. I’m always looking for new ideas and inspiration, and I can’t wait to see what you come up with. Happy baking!
Cheesy Pizza Pockets: The Ultimate Guide to Delicious Homemade Snacks
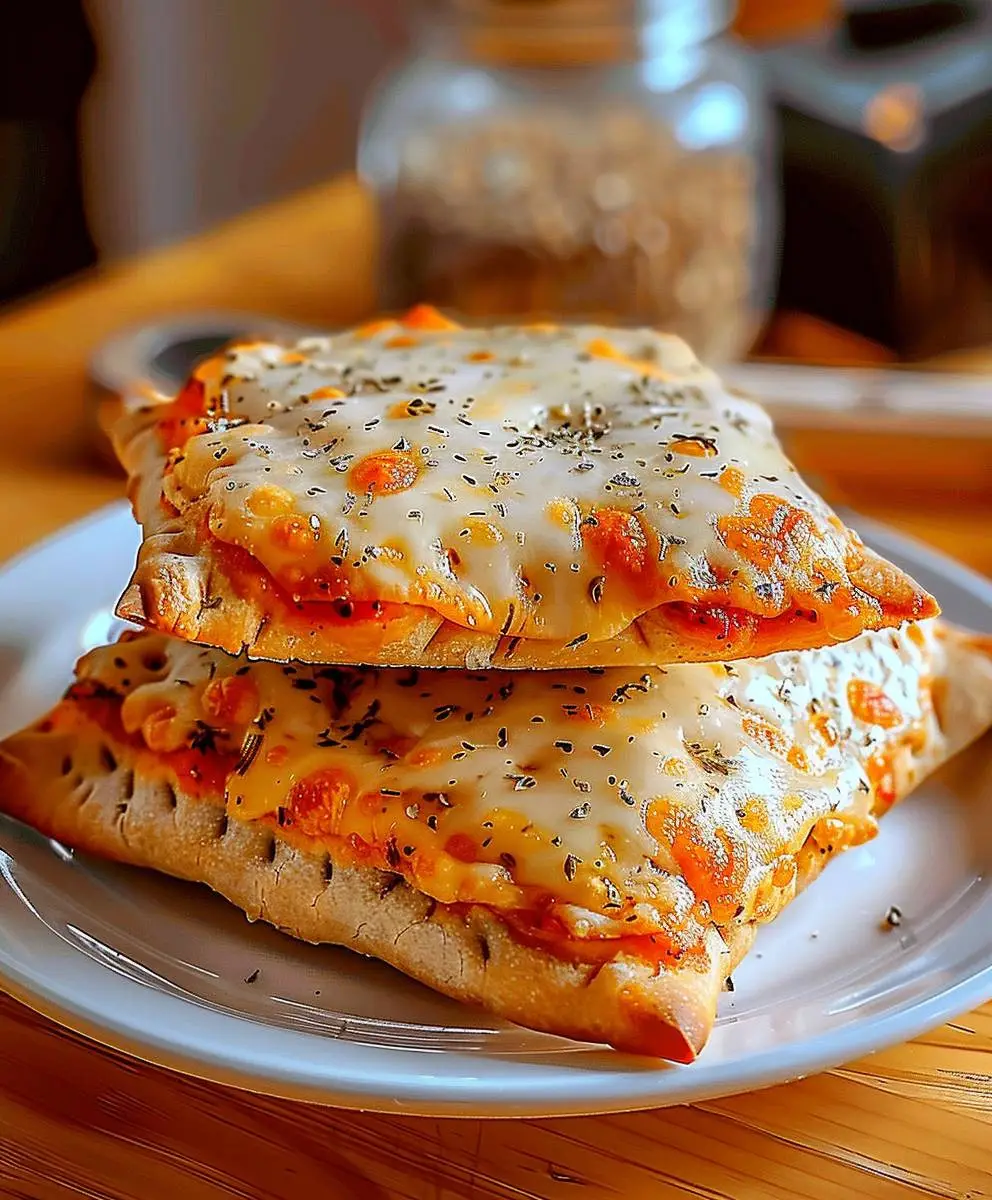
Homemade pizza pockets filled with savory Italian sausage, flavorful tomato sauce, and a blend of melted cheeses. Perfect for a quick lunch, snack, or party appetizer!
Ingredients
Instructions
Recipe Notes
- Make sure the water for the yeast is between 105-115°F for optimal activation.
- If the yeast doesn’t foam, it may be old and need to be replaced.
- Kneading can be done by hand or with a stand mixer using a dough hook.
- Cool the filling completely before assembling the pizza pockets to prevent melting the cheese.
- Don’t overfill the pizza pockets, or they will be difficult to seal.
- Serve with marinara sauce for dipping, if desired.
- Experiment with different fillings and toppings to create your own unique variations.