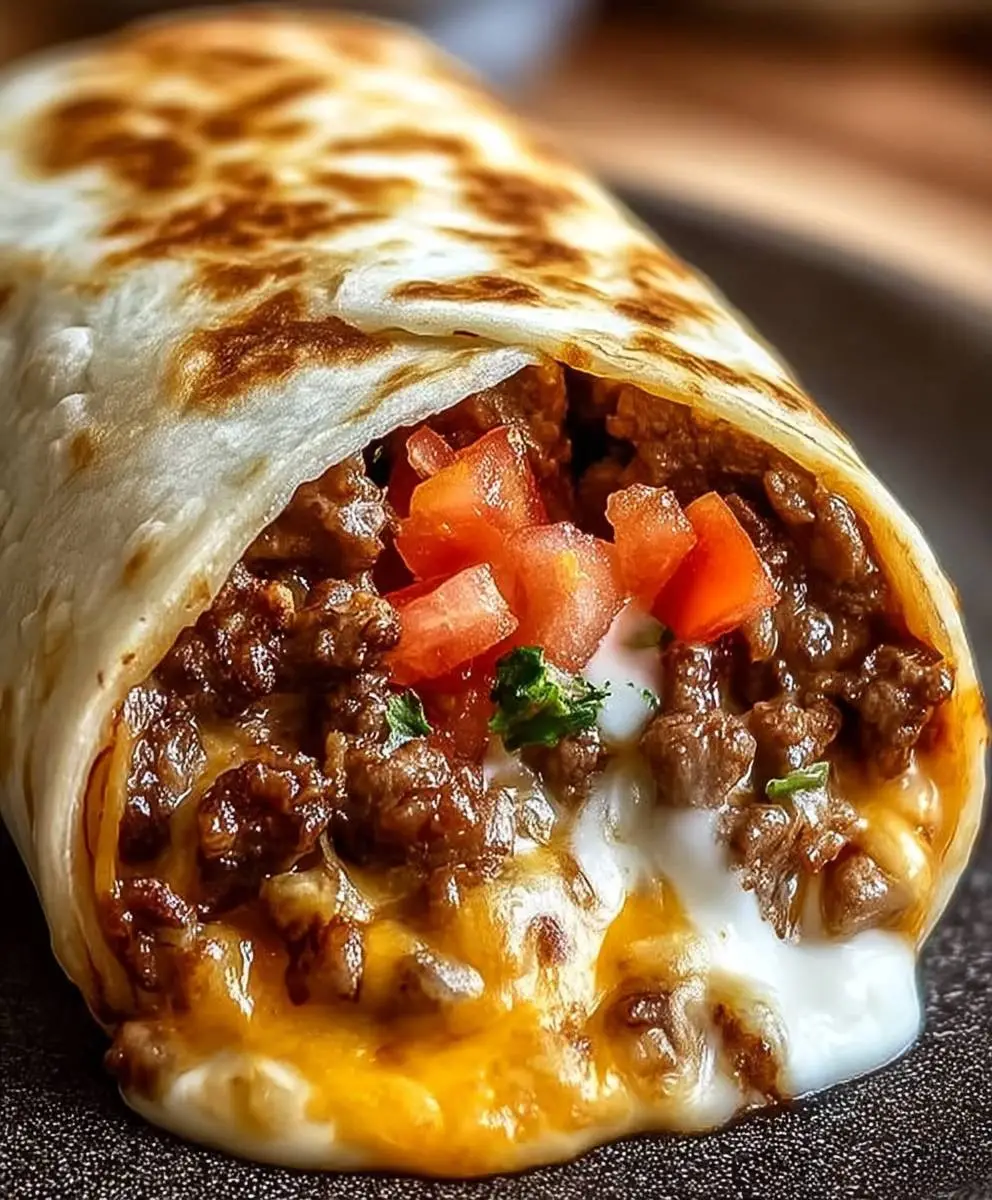
Beefy Melt Burrito: Prepare to experience a flavor explosion that will redefine your lunch or dinner routine! Imagine sinking your teeth into a warm, toasted tortilla, bursting with seasoned ground beef, melted cheese, and all your favorite burrito fixings. This isn’t just a meal; it’s an experience.
While the exact origins of the modern burrito are debated, its roots are firmly planted in Mexican cuisine, evolving from simple meat-filled tortillas to the customizable culinary delight we know and love today. The beauty of the burrito lies in its versatility and portability, making it a staple for busy individuals and families alike.
What makes the Beefy Melt Burrito so irresistible? It’s the perfect combination of textures and tastes. The savory, seasoned beef complements the creamy, melted cheese, while the soft tortilla provides a comforting embrace. It’s quick, easy to customize, and incredibly satisfying. Whether you’re craving a hearty lunch or a convenient weeknight dinner, this Beefy Melt Burrito recipe is guaranteed to become a new favorite. Get ready to roll!
Ingredients:
- 1 pound ground beef (80/20 blend recommended for flavor)
- 1 large onion, finely chopped
- 2 cloves garlic, minced
- 1 packet (1 ounce) taco seasoning
- 1/2 cup water
- 1 (15 ounce) can black beans, rinsed and drained
- 1 (15 ounce) can corn, drained
- 1 (10 ounce) can diced tomatoes and green chilies (like Rotel), undrained
- 1 cup cooked rice (white or brown, your preference)
- 1 cup shredded cheddar cheese
- 1 cup shredded Monterey Jack cheese
- 1/2 cup sour cream
- 1/4 cup chopped cilantro
- 1 tablespoon vegetable oil
- 6 large flour tortillas (burrito size)
- Optional toppings: guacamole, salsa, hot sauce
Preparing the Beefy Filling
Okay, let’s get started with the heart of our Beefy Melt Burrito – the flavorful beef filling! This is where we build the foundation of deliciousness, so pay attention to the details. I promise, it’s easier than it sounds!
- Brown the Ground Beef: Heat the vegetable oil in a large skillet over medium-high heat. Add the ground beef and break it up with a spoon. Cook, stirring occasionally, until the beef is browned and no longer pink. Make sure to crumble it well so you don’t end up with big chunks in your burrito. Nobody wants that!
- Drain Excess Grease: Once the beef is browned, carefully drain off any excess grease from the skillet. This step is crucial to prevent your burrito from becoming soggy and greasy. You can use a spoon to hold back the beef while pouring off the grease, or carefully transfer the beef to a colander.
- Sauté the Onion and Garlic: Return the skillet to the heat (or use a clean skillet if you drained the beef into a colander). Add the chopped onion and cook until softened and translucent, about 5-7 minutes. Stir frequently to prevent burning. Then, add the minced garlic and cook for another minute, until fragrant. Be careful not to burn the garlic, as it can become bitter.
- Add Taco Seasoning and Water: Pour the taco seasoning packet over the beef, onion, and garlic mixture. Add the water and stir well to combine. The water helps to distribute the seasoning evenly and creates a slightly saucy consistency.
- Simmer the Beef Mixture: Bring the mixture to a simmer and cook for about 5-10 minutes, stirring occasionally, until the sauce has thickened slightly. This allows the flavors to meld together and creates a richer, more flavorful filling.
- Incorporate Beans, Corn, and Tomatoes: Stir in the rinsed and drained black beans, drained corn, and undrained diced tomatoes and green chilies. Mix well to combine all the ingredients.
- Simmer Again: Reduce the heat to low and simmer for another 5-10 minutes, stirring occasionally, to allow the flavors to meld together even further. This step is important for creating a cohesive and flavorful filling.
Preparing the Rice and Cheese Mixture
While the beef filling is simmering, let’s get the rice and cheese mixture ready. This adds another layer of texture and flavor to our burrito, and it’s super easy to prepare.
- Combine Rice and Cheese: In a medium bowl, combine the cooked rice, shredded cheddar cheese, and shredded Monterey Jack cheese. Mix well to ensure the cheese is evenly distributed throughout the rice.
Assembling the Burritos
Now for the fun part – assembling the burritos! This is where all our hard work comes together to create a delicious and satisfying meal. Don’t be afraid to get your hands dirty!
- Warm the Tortillas: Warm the flour tortillas in a microwave, oven, or on a dry skillet. This makes them more pliable and easier to roll without tearing. To microwave, wrap the tortillas in a damp paper towel and microwave for about 15-20 seconds. To warm in the oven, wrap the tortillas in foil and bake at 350°F (175°C) for about 10 minutes. To warm on a skillet, heat a dry skillet over medium heat and cook each tortilla for about 15-20 seconds per side, until warmed through.
- Fill the Tortillas: Lay a warmed tortilla flat on a clean surface. Spoon about 1/2 cup of the beef filling onto the center of the tortilla.
- Add Rice and Cheese Mixture: Top the beef filling with about 1/4 cup of the rice and cheese mixture.
- Add Sour Cream and Cilantro: Dollop a tablespoon of sour cream over the rice and cheese mixture and sprinkle with a teaspoon of chopped cilantro.
- Fold the Burrito: Fold in the sides of the tortilla over the filling. Then, fold the bottom of the tortilla up and over the filling, tucking it tightly. Roll the burrito forward, keeping it snug and secure.
- Repeat: Repeat steps 2-5 with the remaining tortillas and filling.
Melting the Burritos (Optional but Highly Recommended!)
This step is optional, but trust me, it takes these burritos to the next level! Melting the cheese on the outside of the burrito creates a crispy, gooey, and utterly irresistible texture.
- Heat a Skillet: Heat a large skillet over medium heat.
- Sear the Burritos: Place the assembled burritos in the hot skillet, seam-side down. Cook for about 2-3 minutes per side, or until golden brown and the cheese is melted and gooey. You may need to work in batches, depending on the size of your skillet.
- Serve Immediately: Remove the burritos from the skillet and serve immediately.
Serving Suggestions
These Beefy Melt Burritos are delicious on their own, but they’re even better with your favorite toppings! Here are a few suggestions:
- Guacamole: A classic topping that adds creaminess and flavor.
- Salsa: Choose your favorite salsa, from mild to hot, for a burst of freshness and spice.
- Hot Sauce: For those who like a little extra kick, add a few dashes of your favorite hot sauce.
- Sour Cream: An extra dollop of sour cream adds a cool and tangy contrast to the spicy filling.
- Chopped Cilantro: A sprinkle of fresh cilantro adds a bright and herbaceous flavor.
Tips and Tricks for the Perfect Beefy Melt Burrito
Here are a few extra tips and tricks to help you make the perfect Beefy Melt Burrito every time:
- Use High-Quality Ingredients: The better the ingredients, the better the burrito! Choose fresh, flavorful ingredients for the best results.
- Don’t Overfill the Burritos: Overfilling the burritos will make them difficult to roll and they may burst open while cooking.
- Tuck Tightly: Tucking the filling tightly while rolling the burrito will help to keep it secure and prevent it from falling apart.
- Don’t Be Afraid to Experiment: Feel free to customize the filling to your liking. Add different vegetables, spices, or cheeses to create your own unique version of the Beefy Melt Burrito.
- Make Ahead: You can prepare the beef filling ahead of time and store it in the refrigerator for up to 3 days. This makes it easy to whip up a quick and easy meal on a busy weeknight. You can also assemble the burritos ahead of time and store them in the refrigerator for up to 24 hours before cooking.
Variations
Want to switch things up? Here are a few variations you can try:
- Spicy Beefy Melt Burrito: Add a pinch of cayenne pepper or a few dashes of hot sauce to the beef filling for a spicy kick.
- Vegetarian Beefy Melt Burrito: Substitute the ground beef with crumbled tofu or black beans for a vegetarian option.
- Chicken Beefy Melt Burrito: Use shredded cooked chicken instead of ground beef.
- Breakfast Beefy Melt Burrito: Add scrambled eggs and cooked bacon or sausage to the filling for a hearty breakfast burrito.
Enjoy your delicious and satisfying Beefy Melt Burritos! I hope you love them as much as I do!
Conclusion:
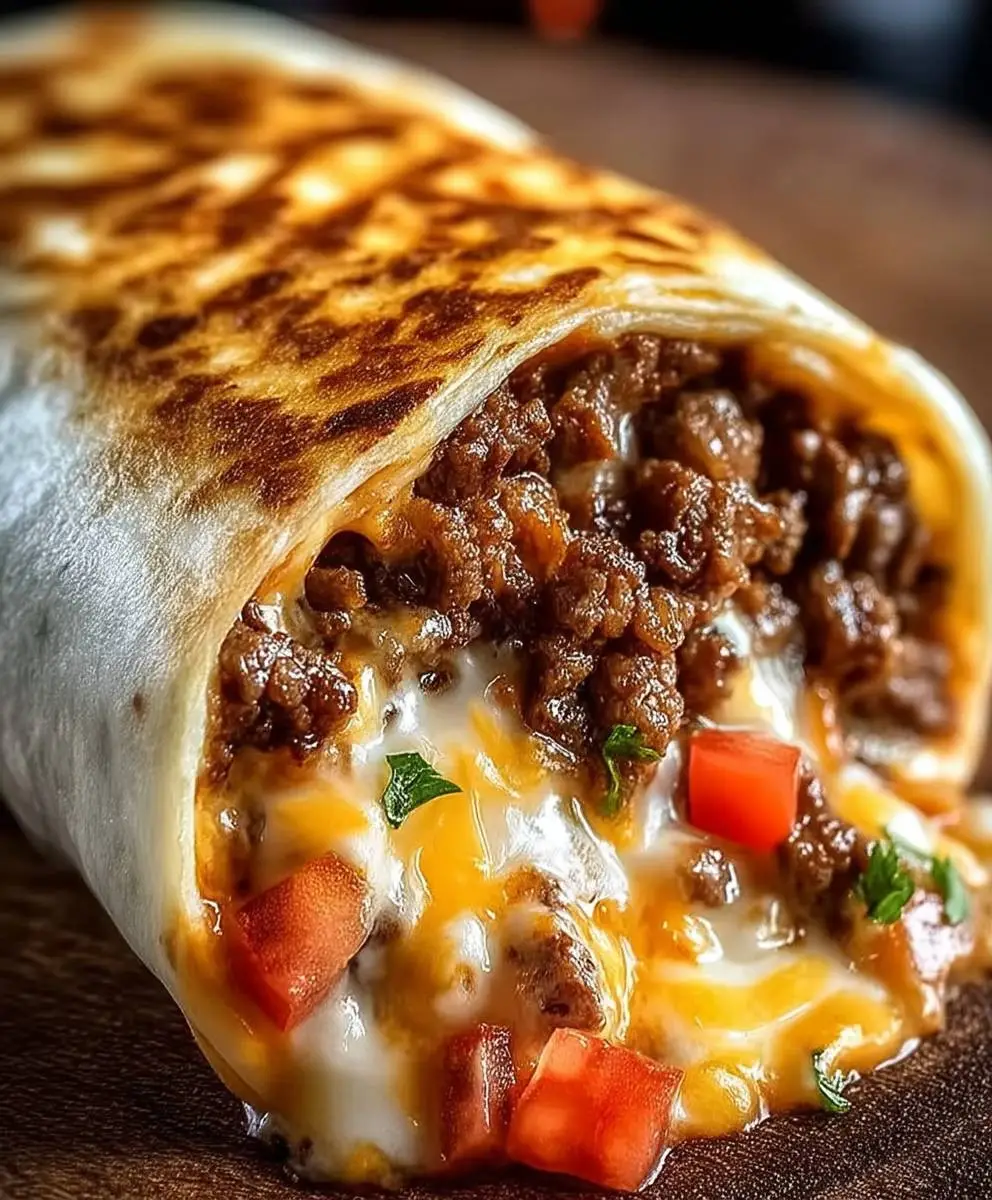
So there you have it! This Beefy Melt Burrito recipe is more than just a quick meal; it’s a flavor explosion waiting to happen. I truly believe this will become a staple in your kitchen, not just because it’s incredibly easy to make, but because it delivers that satisfying, comforting taste we all crave. The combination of seasoned ground beef, gooey cheese, and your favorite toppings, all wrapped in a warm tortilla, is simply irresistible.
Why is this a must-try? Well, for starters, it’s incredibly versatile. You can easily adapt it to your own preferences and dietary needs. Are you a spice lover? Add a pinch of cayenne pepper to the beef mixture or a drizzle of your favorite hot sauce. Prefer a vegetarian option? Simply swap out the beef for seasoned black beans or crumbled tofu. The possibilities are endless!
Beyond its adaptability, this burrito is also incredibly budget-friendly. You likely already have many of the ingredients in your pantry, and the rest are easily accessible at your local grocery store. Plus, it’s a fantastic way to use up leftover ingredients, minimizing food waste and saving you money.
Now, let’s talk serving suggestions. While this Beefy Melt Burrito is delicious on its own, you can elevate the experience with a few simple additions. Consider serving it with a side of homemade guacamole and sour cream for dipping. A fresh salsa or a crisp salad would also complement the rich flavors perfectly. For a heartier meal, pair it with some Mexican rice and refried beans.
And don’t be afraid to get creative with variations! Try adding some grilled onions and peppers for extra flavor and texture. Or, if you’re feeling adventurous, experiment with different types of cheese. Pepper jack would add a spicy kick, while Monterey Jack would provide a milder, creamier flavor. You could even add some crispy bacon bits for a smoky twist.
I’ve personally made this recipe countless times, and it’s always a hit with my family and friends. It’s the perfect meal for a busy weeknight, a casual weekend lunch, or even a fun party snack. It’s quick, easy, and guaranteed to satisfy even the pickiest eaters.
But don’t just take my word for it! I encourage you to try this recipe for yourself and experience the deliciousness firsthand. I’m confident that you’ll love it as much as I do. And once you’ve made it, I’d love to hear about your experience. Did you make any modifications? What were your favorite toppings? What did you serve it with?
Please, share your thoughts and photos in the comments below. I’m always eager to learn from your culinary adventures and see how you’ve personalized this recipe to make it your own. Let’s create a community of burrito lovers and inspire each other with our delicious creations! So go ahead, grab your ingredients, and get cooking! I can’t wait to hear what you think of this amazing Beefy Melt Burrito. Happy cooking!
Beefy Melt Burrito: The Ultimate Guide to This Delicious Meal
Beefy Melt Burritos: Seasoned ground beef, beans, corn, rice, and cheese in a warm tortilla, optionally melted for a crispy finish.
Ingredients
Instructions
Recipe Notes
- Use 80/20 ground beef for best flavor.
- Drain excess grease to prevent soggy burritos.
- Warm tortillas to prevent tearing.
- Don’t overfill burritos.
- Tuck tightly when rolling.
- Optional toppings: guacamole, salsa, hot sauce, extra sour cream, cilantro.
- Make the beef filling ahead of time and store it in the refrigerator for up to 3 days.
- Assemble the burritos ahead of time and store them in the refrigerator for up to 24 hours before cooking.
- Variations: Spicy (add cayenne or hot sauce), Vegetarian (tofu or black beans), Chicken (shredded chicken), Breakfast (add eggs and bacon/sausage).

