Copycat Raising Cane’s Bread: That’s right, you can now enjoy that pillowy soft, buttery, and slightly sweet bread from Raising Cane’s in the comfort of your own home! Have you ever found yourself craving *just* the bread from Raising Cane’s? I know I have! It’s the perfect complement to their chicken fingers and Cane’s sauce, but sometimes, you just want that bread.
While Raising Cane’s is a relatively recent phenomenon, founded in 1996, the concept of serving simple, high-quality ingredients in a fast-casual setting has deep roots in American culinary history. This bread, in particular, draws inspiration from classic pullman loaves and enriched doughs that have been enjoyed for generations. It’s a testament to the power of simple pleasures, and this copycat Raising Cane’s bread recipe allows you to recreate that magic anytime you want.
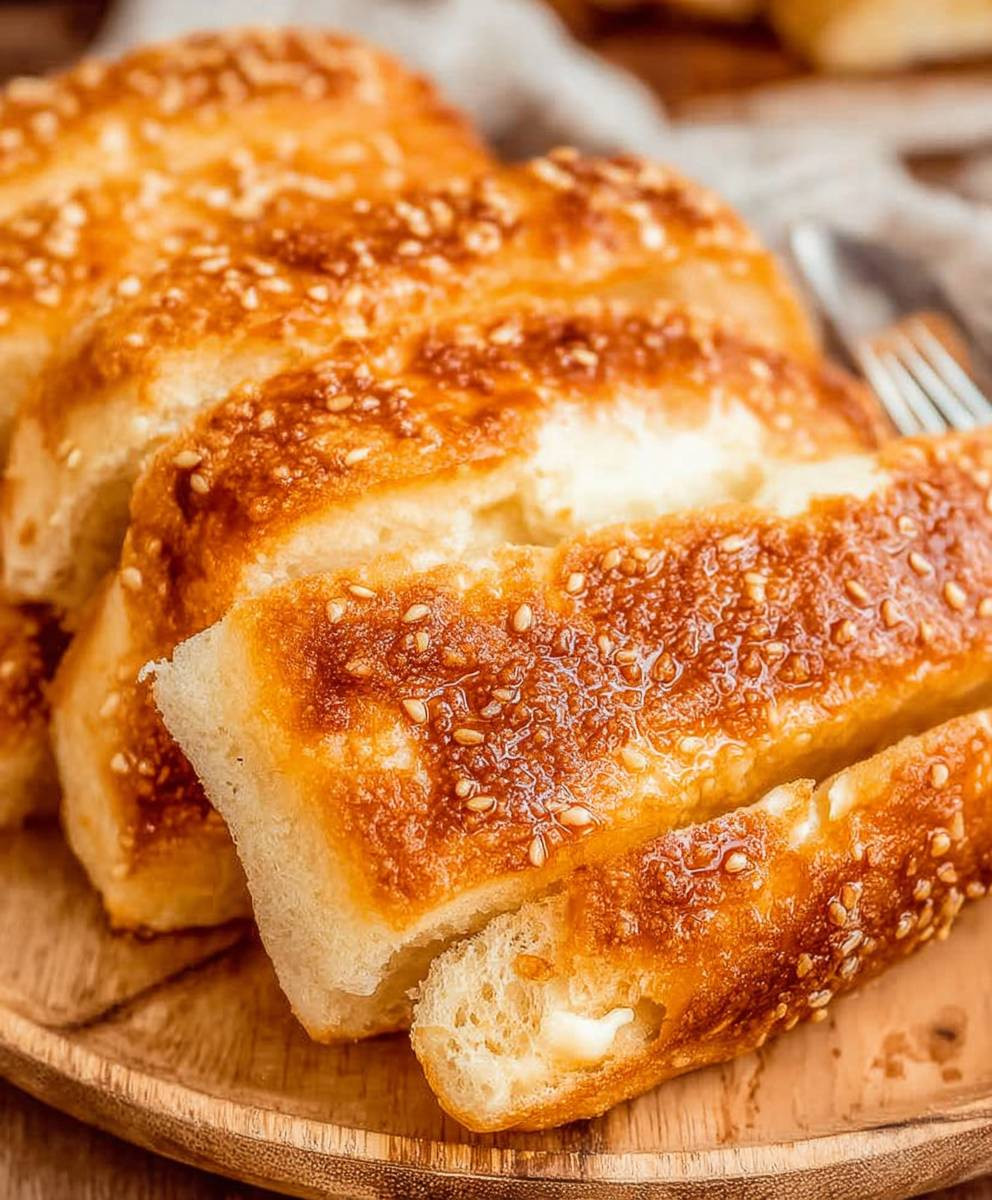
People adore this bread for its incredibly soft texture, subtle sweetness, and the delightful buttery flavor that melts in your mouth. It’s the perfect side dish, a fantastic base for sandwiches, or even a delicious snack on its own. Plus, this recipe is surprisingly easy to make, meaning you can have fresh, warm bread whenever the craving strikes. Get ready to impress your friends and family with this irresistible homemade version!

Ingredients:
- For the Dough:
- 3 ½ cups (420g) all-purpose flour, plus more for dusting
- 1 ¼ cups (300ml) warm milk (105-115°F / 40-46°C)
- 2 ¼ teaspoons (7g) active dry yeast
- ¼ cup (50g) granulated sugar
- 1 teaspoon salt
- ¼ cup (60ml) unsalted butter, melted
- 1 large egg, lightly beaten
- For the Egg Wash:
- 1 large egg
- 1 tablespoon milk or water
- For the Butter Topping:
- ¼ cup (60ml) unsalted butter, melted
- Pinch of salt
Preparing the Dough:
- Activate the Yeast: In a large bowl, or the bowl of your stand mixer, combine the warm milk and sugar. Sprinkle the yeast over the top and let it sit for 5-10 minutes, or until foamy. This step is crucial to ensure your yeast is alive and active. If it doesn’t foam, your yeast is likely dead, and you’ll need to start over with fresh yeast.
- Combine Wet Ingredients: Once the yeast is foamy, add the melted butter and lightly beaten egg to the bowl. Whisk everything together until well combined. Make sure your butter isn’t too hot, or it could cook the egg.
- Add Dry Ingredients: In a separate bowl, whisk together the flour and salt. Gradually add the dry ingredients to the wet ingredients, mixing on low speed with the dough hook attachment (or by hand) until a shaggy dough forms.
- Knead the Dough: Increase the mixer speed to medium and knead the dough for 6-8 minutes, or until it becomes smooth and elastic. If kneading by hand, turn the dough out onto a lightly floured surface and knead for 8-10 minutes. The dough should be slightly tacky but not sticky. If it’s too sticky, add a tablespoon of flour at a time until it reaches the right consistency.
- First Rise: Place the dough in a lightly oiled bowl, turning to coat. Cover the bowl with plastic wrap or a clean kitchen towel and let it rise in a warm place for 1-1.5 hours, or until doubled in size. This is where the magic happens! The yeast will work its wonders, creating those airy pockets that make the bread so delicious.
Shaping and Second Rise:
- Punch Down the Dough: Once the dough has doubled, gently punch it down to release the air. Turn it out onto a lightly floured surface.
- Divide the Dough: Divide the dough into 12 equal pieces. I like to use a kitchen scale to ensure they’re all the same size, but you can also eyeball it.
- Shape the Rolls: Roll each piece of dough into a smooth ball. Place the rolls in a greased 9×13 inch baking pan, spacing them evenly apart.
- Second Rise: Cover the pan with plastic wrap or a clean kitchen towel and let the rolls rise in a warm place for 30-45 minutes, or until they are puffy and almost doubled in size. This second rise is important for creating that soft, pillowy texture.
Baking and Finishing Touches:
- Preheat the Oven: Preheat your oven to 350°F (175°C).
- Prepare the Egg Wash: In a small bowl, whisk together the egg and milk (or water) for the egg wash.
- Apply Egg Wash: Gently brush the tops of the rolls with the egg wash. This will give them a beautiful golden-brown color.
- Bake the Rolls: Bake for 20-25 minutes, or until the rolls are golden brown on top. Keep a close eye on them, as baking times can vary depending on your oven. If they start to brown too quickly, you can tent them with foil.
- Prepare the Butter Topping: While the rolls are baking, melt the butter for the topping and add a pinch of salt.
- Butter the Rolls: As soon as the rolls come out of the oven, brush them generously with the melted butter. This will give them that signature Raising Cane’s buttery flavor and a soft, shiny crust.
- Cool and Serve: Let the rolls cool in the pan for a few minutes before serving. They are best enjoyed warm!
Tips for Success:
- Use Warm Milk: The temperature of the milk is crucial for activating the yeast. It should be warm to the touch, but not hot. If it’s too hot, it can kill the yeast.
- Don’t Overknead: Overkneading can result in tough bread. Knead the dough until it’s smooth and elastic, but not longer.
- Proper Rising: Make sure the dough rises in a warm place. A slightly warm oven (turned off) or a sunny spot in your kitchen can work well.
- Don’t Overbake: Overbaking can dry out the rolls. Bake them until they are golden brown, but still soft to the touch.
- Fresh Ingredients: Using fresh ingredients, especially yeast, will give you the best results.
Variations:
- Garlic Butter: Add a clove of minced garlic to the melted butter for a garlic butter topping.
- Herb Butter: Add some chopped fresh herbs, such as parsley or chives, to the melted butter for an herb butter topping.
- Sweet Rolls: Add a bit more sugar to the dough and a sprinkle of cinnamon to the butter topping for sweet rolls.
Storage Instructions:
- Room Temperature: Store the baked rolls in an airtight container at room temperature for up to 2 days.
- Freezer: For longer storage, freeze the rolls in an airtight container or freezer bag for up to 2 months. Thaw them at room temperature before reheating.
Reheating Instructions:
- Oven: Preheat your oven to 350°F (175°C) and bake the rolls for 5-10 minutes, or until warmed through.
- Microwave: Microwave the rolls for 15-30 seconds, or until warmed through. Be careful not to overheat them, or they will become tough.
Troubleshooting:
- Dough Not Rising: If your dough isn’t rising, it could be due to several factors: the yeast is dead, the milk was too hot or too cold, or the room is too cold. Make sure your yeast is fresh, the milk is the right temperature, and the dough is rising in a warm place.
- Dough Too Sticky: If your dough is too sticky, add a tablespoon of flour at a time until it reaches the right consistency.
- Rolls Too Dry: If your rolls are too dry, make sure you’re not overbaking them. You can also brush them with more melted butter after baking.
- Rolls Not Golden Brown: If your rolls aren’t golden brown, make sure you’re using an egg wash. You can also increase the oven temperature slightly.
This recipe is a labor of love, but the results are so worth it! Enjoy your homemade, copycat Raising Cane’s bread!
Conclusion:
This Copycat Raising Cane’s Bread recipe is more than just a side; it’s a nostalgic trip to your favorite chicken finger joint, right in your own kitchen! The soft, buttery, and slightly sweet flavor profile makes it the perfect complement to any meal, not just fried chicken. I truly believe this recipe is a must-try because it’s incredibly easy to make, uses ingredients you likely already have on hand, and delivers that unmistakable Cane’s bread taste that we all crave. Forget running to the restaurant just for the bread – now you can have it whenever the mood strikes!
But the best part? This recipe is incredibly versatile. While it’s divine served warm with a pat of butter (or even better, Cane’s sauce!), don’t be afraid to experiment. Try toasting slices and using them for mini sandwiches with deli meat and cheese. Or, cube the bread and toss it with herbs and garlic for homemade croutons that will elevate any salad. For a sweeter treat, brush the baked bread with melted butter and sprinkle with cinnamon sugar while it’s still warm. You could even use it as the base for a bread pudding! The possibilities are truly endless.
Serving Suggestions and Variations:
* Classic Cane’s Combo: Serve alongside your favorite fried chicken, coleslaw, and fries for the ultimate Cane’s experience.
* Soup Companion: This bread is fantastic for dipping into creamy tomato soup or hearty chili.
* Breakfast Treat: Toast a slice and top with avocado and a sprinkle of everything bagel seasoning for a quick and satisfying breakfast.
* Garlic Bread Upgrade: Brush with garlic butter and broil for a delicious garlic bread alternative.
* Sweet Variation: Add a teaspoon of vanilla extract to the dough for a slightly sweeter flavor.
I’ve poured my heart into perfecting this recipe, and I’m confident that you’ll love it as much as I do. It’s the perfect way to satisfy your cravings for that iconic bread without leaving the comfort of your home. Plus, making it yourself allows you to control the ingredients and customize it to your liking.
So, what are you waiting for? Gather your ingredients, preheat your oven, and get ready to bake up a batch of this incredible Copycat Raising Cane’s Bread. I promise you won’t be disappointed. And most importantly, I want to hear about your experience! Did you make any variations? What did you serve it with? Share your photos and stories in the comments below. I can’t wait to see what you create! Happy baking! Let me know if you have any questions, and I’ll do my best to help. Enjoy!
Copycat Raising Cane's Bread: The Ultimate Recipe Guide
Soft, buttery, and delicious copycat Raising Cane's bread rolls. Perfect for pairing with your favorite meal or enjoying on their own!
Ingredients
Instructions
Recipe Notes
- Use Warm Milk: The temperature of the milk is crucial for activating the yeast. It should be warm to the touch, but not hot. If it’s too hot, it can kill the yeast.
- Don’t Overknead: Overkneading can result in tough bread. Knead the dough until it’s smooth and elastic, but not longer.
- Proper Rising: Make sure the dough rises in a warm place. A slightly warm oven (turned off) or a sunny spot in your kitchen can work well.
- Don’t Overbake: Overbaking can dry out the rolls. Bake them until they are golden brown, but still soft to the touch.
- Fresh Ingredients: Using fresh ingredients, especially yeast, will give you the best results.