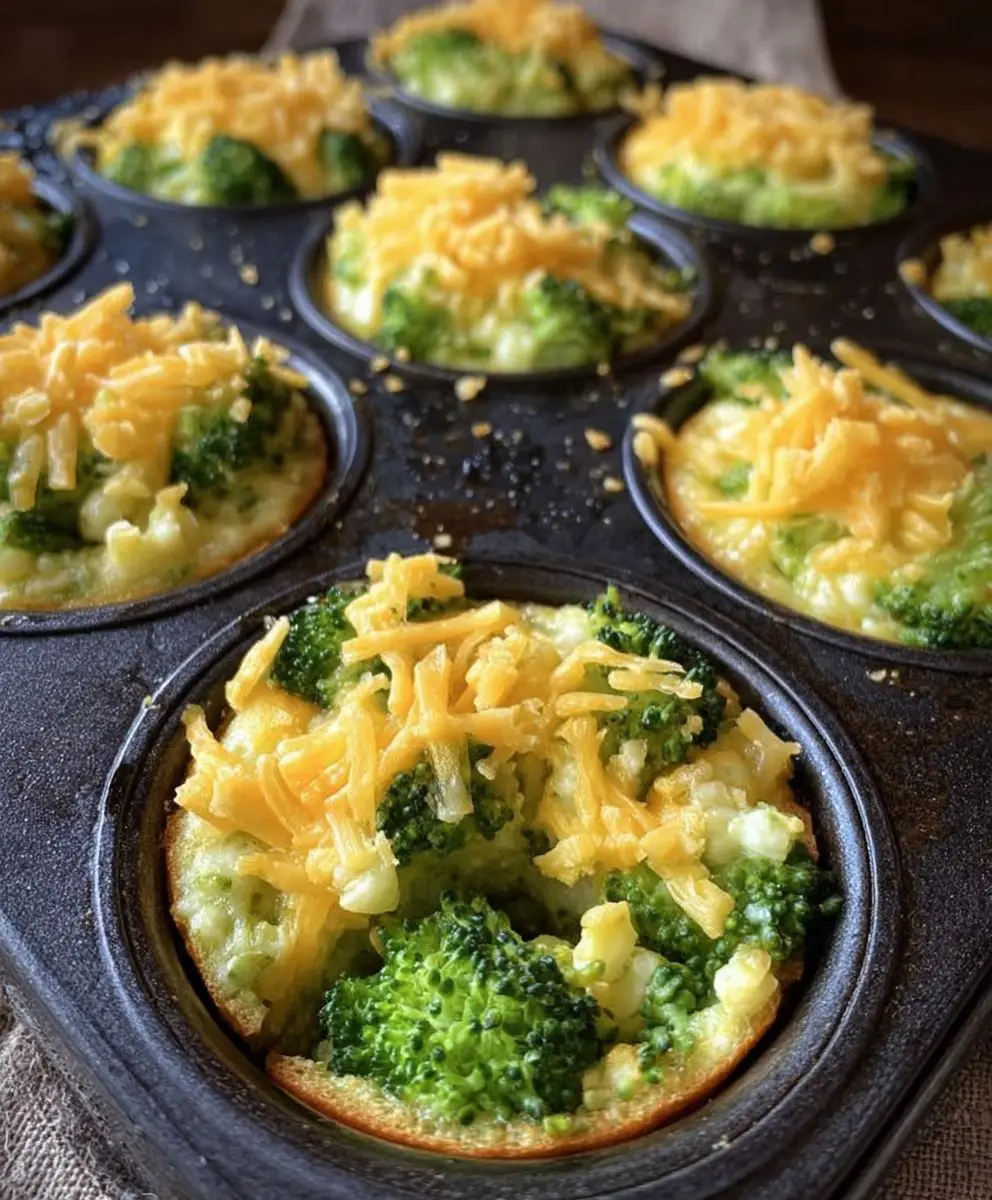
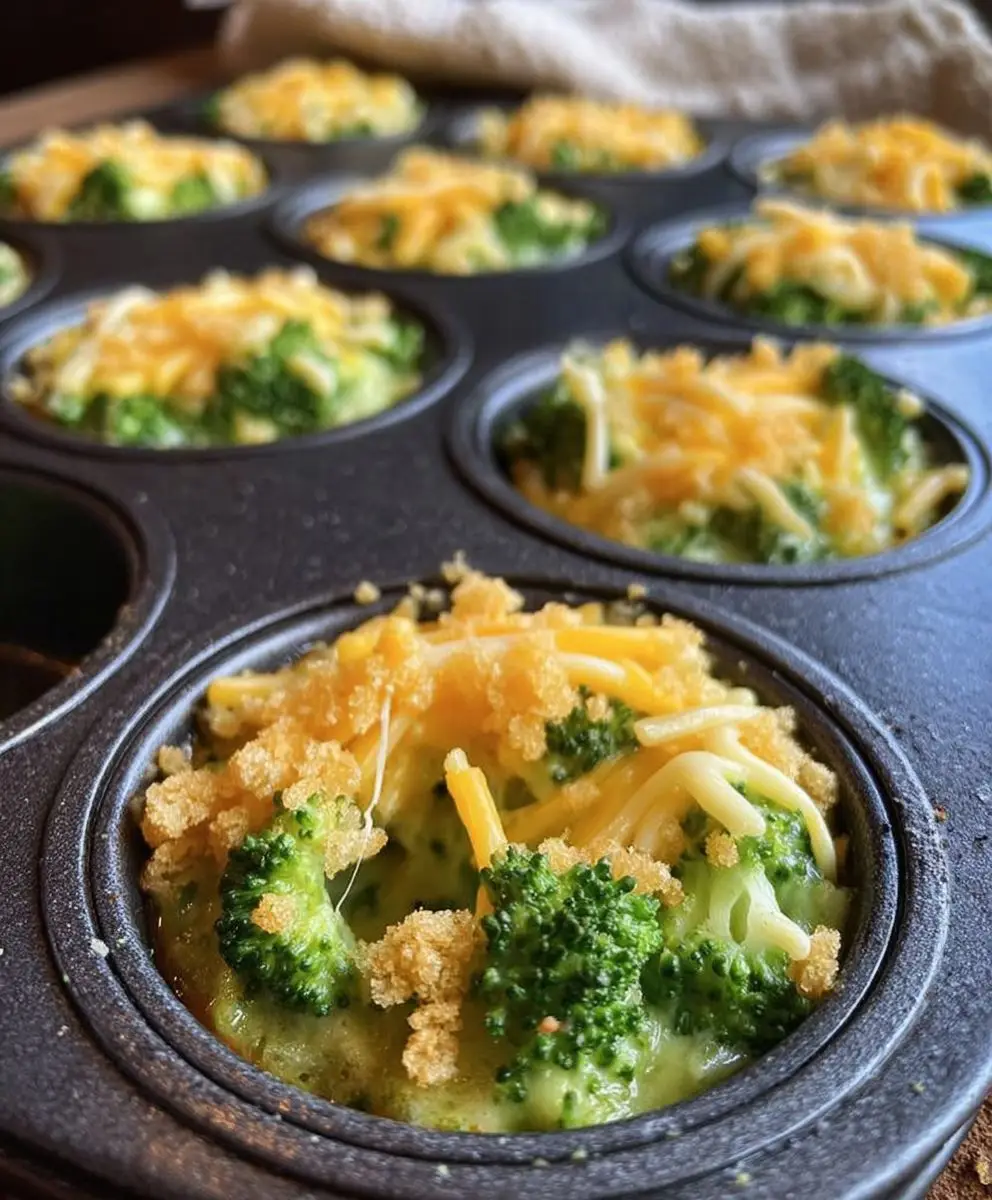
Broccoli Cheese Cups Snack: Get ready to transform your snack game with these delightful, bite-sized treats! Imagine popping a warm, savory cup filled with tender broccoli and gooey, melted cheese into your mouth. It’s a flavor explosion that’s both comforting and surprisingly addictive. But these aren’t just any ordinary snacks; they’re a perfect blend of healthy and delicious, making them ideal for kids and adults alike.
While the exact origins of broccoli and cheese as a pairing are somewhat hazy, the combination has become a beloved staple in countless kitchens. Think broccoli cheese soup, broccoli cheese casserole – the possibilities are endless! The beauty of this pairing lies in the way the slightly bitter notes of broccoli are perfectly balanced by the rich, creamy goodness of cheese. It’s a culinary marriage made in heaven.
What makes these Broccoli Cheese Cups Snack so irresistible? For starters, they’re incredibly easy to make, requiring minimal ingredients and effort. They’re also incredibly versatile. You can customize them with different cheeses, add a touch of spice, or even sneak in some other veggies. But most importantly, people love them because they taste amazing! The soft, slightly crunchy broccoli, combined with the melted cheese, creates a textural and flavor sensation that’s hard to resist. Plus, they’re a fantastic way to get your daily dose of vegetables in a fun and appealing way. So, let’s get baking and create these little cups of cheesy broccoli goodness!
Ingredients:
- For the Broccoli Base:
- 2 cups fresh broccoli florets, finely chopped
- 1/2 cup yellow onion, finely diced
- 2 large eggs, lightly beaten
- 1/2 cup shredded cheddar cheese
- 1/4 cup grated Parmesan cheese
- 1/4 cup all-purpose flour
- 1/4 teaspoon garlic powder
- 1/4 teaspoon onion powder
- 1/4 teaspoon salt
- 1/8 teaspoon black pepper
- For the Cheese Sauce:
- 2 tablespoons unsalted butter
- 2 tablespoons all-purpose flour
- 1 1/2 cups milk (whole or 2%)
- 1 cup shredded cheddar cheese
- 1/4 teaspoon salt
- 1/8 teaspoon black pepper
- Pinch of nutmeg (optional)
- Optional Toppings:
- Cooked and crumbled bacon
- Chopped green onions
- Everything bagel seasoning
Preparing the Broccoli Base:
- Preheat your oven and prepare the muffin tin: First things first, let’s preheat your oven to 375°F (190°C). While the oven is heating up, grease a 12-cup muffin tin really well. You can use cooking spray or a little bit of melted butter. This will prevent the broccoli cups from sticking and make them easier to remove later.
- Chop the broccoli and onion: Now, grab your fresh broccoli florets and give them a good wash. Then, chop them into really small pieces. You want them to be about the size of rice grains. The smaller they are, the better they’ll bind together. Do the same with the yellow onion – dice it finely. Nobody wants big chunks of onion in their broccoli cups!
- Combine the ingredients: In a large mixing bowl, add the chopped broccoli, diced onion, beaten eggs, shredded cheddar cheese, grated Parmesan cheese, all-purpose flour, garlic powder, onion powder, salt, and pepper.
- Mix everything thoroughly: Use a spoon or spatula to mix all the ingredients together until they are well combined. Make sure there are no clumps of flour and that the broccoli and onion are evenly distributed throughout the mixture. The mixture should be slightly wet but not runny. If it seems too dry, you can add a tablespoon of milk.
- Fill the muffin cups: Spoon the broccoli mixture into the prepared muffin tin, filling each cup about 3/4 full. Don’t overfill them, as they might puff up a bit during baking.
Baking the Broccoli Cups:
- Bake in the preheated oven: Place the muffin tin in the preheated oven and bake for 20-25 minutes, or until the broccoli cups are golden brown and set. A toothpick inserted into the center of one of the cups should come out clean.
- Cool slightly before removing: Once the broccoli cups are done baking, remove the muffin tin from the oven and let it cool for a few minutes before attempting to remove the cups. This will help them firm up and prevent them from falling apart.
- Remove the broccoli cups from the muffin tin: Use a butter knife or small spatula to gently loosen the edges of each broccoli cup from the muffin tin. Then, carefully lift them out and place them on a wire rack to cool completely.
Preparing the Cheese Sauce:
- Melt the butter: In a medium saucepan, melt the unsalted butter over medium heat. Make sure the butter doesn’t burn.
- Whisk in the flour: Once the butter is melted, whisk in the all-purpose flour. Cook for about 1-2 minutes, stirring constantly, to create a roux. This will help thicken the cheese sauce. The roux should be smooth and slightly golden in color.
- Gradually add the milk: Slowly pour in the milk, whisking constantly to prevent lumps from forming. Continue whisking until the mixture is smooth and starts to thicken.
- Simmer the sauce: Bring the sauce to a simmer over medium heat, stirring occasionally. Let it simmer for about 5-7 minutes, or until it has thickened to your desired consistency. The sauce should be thick enough to coat the back of a spoon.
- Add the cheese and seasonings: Remove the saucepan from the heat and stir in the shredded cheddar cheese, salt, pepper, and nutmeg (if using). Stir until the cheese is completely melted and the sauce is smooth and creamy.
Assembling the Broccoli Cheese Cups:
- Spoon the cheese sauce over the broccoli cups: Now comes the fun part! Take your cooled broccoli cups and place them on a serving platter or individual plates. Spoon a generous amount of the cheese sauce over each cup, making sure to cover the top completely.
- Add your favorite toppings (optional): If you want to add some extra flavor and texture, sprinkle the broccoli cheese cups with your favorite toppings. Cooked and crumbled bacon, chopped green onions, and everything bagel seasoning are all great options.
- Serve immediately: The broccoli cheese cups are best served warm, right after they’ve been assembled. The cheese sauce will be nice and melty, and the broccoli cups will be soft and flavorful.
- Reheating Instructions: If you have any leftovers, you can store them in an airtight container in the refrigerator for up to 3 days. To reheat, you can microwave them for a minute or two, or bake them in a preheated oven at 350°F (175°C) for about 10-15 minutes, or until heated through. You may want to add a little extra cheese sauce on top before reheating to keep them moist.
Tips and Variations:
Spice it up!
If you like a little kick, add a pinch of red pepper flakes to the cheese sauce.
Add some veggies!
Feel free to add other chopped vegetables to the broccoli base, such as carrots, bell peppers, or zucchini.
Use different cheeses!
Experiment with different types of cheese in the cheese sauce, such as Gruyere, Monterey Jack, or pepper jack.
Make it gluten-free!
Use gluten-free all-purpose flour in both the broccoli base and the cheese sauce.
Make it dairy-free!
Use dairy-free milk and cheese alternatives in the cheese sauce.
Make it ahead!
You can prepare the broccoli base and the cheese sauce ahead of time and store them separately in the refrigerator. When you’re ready to assemble the cups, simply bake the broccoli base, reheat the cheese sauce, and spoon it over the cups.
Freezing Instructions:
For longer storage, you can freeze the baked broccoli cups (without the cheese sauce). Let them cool completely, then wrap them individually in plastic wrap and place them in a freezer bag. They can be stored in the freezer for up to 2 months. To reheat, bake them in a preheated oven at 350°F (175°C) for about 20-25 minutes, or until heated through. Then, prepare the cheese sauce and spoon it over the reheated cups.
Conclusion:
These Broccoli Cheese Cups are truly a must-try! I’m not just saying that; the combination of tender broccoli florets, that creamy, cheesy goodness, and the satisfyingly crisp edges makes them utterly irresistible. They’re quick to whip up, perfect for picky eaters (sneaking in those veggies!), and versatile enough to be a hit at any gathering or a simple weeknight snack. Seriously, what’s not to love?
Think of these little cups as your blank canvas for flavor! While the recipe is fantastic as is, feel free to experiment. For a spicier kick, add a pinch of red pepper flakes or a dash of hot sauce to the cheese mixture. If you’re a fan of garlic, a clove or two of minced garlic sautéed with the broccoli before adding it to the batter will elevate the flavor profile beautifully. Bacon bits are another fantastic addition, adding a smoky, salty element that complements the broccoli and cheese perfectly. For a vegetarian twist, consider adding finely chopped mushrooms or bell peppers.
Serving suggestions are endless! These Broccoli Cheese Cups make a delightful appetizer for parties. Arrange them on a platter with a side of ranch dressing or a creamy sriracha mayo for dipping. They’re also a fantastic addition to lunchboxes, providing a healthy and satisfying snack that kids (and adults!) will actually enjoy. For a light lunch or dinner, serve them alongside a simple salad or a bowl of soup. They’re even delicious cold, straight from the refrigerator, making them a convenient grab-and-go option.
Don’t be afraid to get creative with your cheese choices too! While cheddar is a classic, feel free to experiment with other varieties. Gruyere adds a nutty, sophisticated flavor, while Monterey Jack provides a mild and creamy texture. A blend of cheeses can also create a more complex and interesting flavor profile. Consider adding a touch of Parmesan cheese for a salty, umami boost.
I truly believe that once you try this recipe, it will become a staple in your household. It’s a simple, satisfying, and versatile way to enjoy broccoli and cheese, and it’s sure to please even the pickiest of eaters. The best part? It’s so easy to make that even beginner cooks can achieve perfect results.
So, what are you waiting for? Gather your ingredients, preheat your oven, and get ready to experience the deliciousness of these Broccoli Cheese Cups. I promise you won’t be disappointed!
And now for the fun part: I want to hear about your experience! Did you try the recipe? What variations did you make? What did your family think? Share your photos and stories in the comments below. I’m so excited to see your creations and hear your feedback. Let’s spread the love for these amazing Broccoli Cheese Cups and inspire others to give them a try! Happy cooking, and I can’t wait to hear from you! I am sure you will love this Broccoli Cheese Cups Snack recipe.
Broccoli Cheese Cups Snack: Easy & Delicious Recipe
Delicious and easy cheesy broccoli cups! Baked broccoli bites topped with creamy homemade cheese sauce and optional toppings like bacon and green onions. Perfect as a side dish or appetizer.
Ingredients
Instructions
Recipe Notes
- Spice it up! Add a pinch of red pepper flakes to the cheese sauce for a little kick.
- Add some veggies! Feel free to add other chopped vegetables to the broccoli base, such as carrots, bell peppers, or zucchini.
- Use different cheeses! Experiment with different types of cheese in the cheese sauce, such as Gruyere, Monterey Jack, or pepper jack.
- Make it gluten-free! Use gluten-free all-purpose flour in both the broccoli base and the cheese sauce.
- Make it dairy-free! Use dairy-free milk and cheese alternatives in the cheese sauce.
- Make it ahead! You can prepare the broccoli base and the cheese sauce ahead of time and store them separately in the refrigerator. When you’re ready to assemble the cups, simply bake the broccoli base, reheat the cheese sauce, and spoon it over the cups.
- Freezing Instructions: For longer storage, you can freeze the baked broccoli cups (without the cheese sauce). Let them cool completely, then wrap them individually in plastic wrap and place them in a freezer bag. They can be stored in the freezer for up to 2 months. To reheat, bake them in a preheated oven at 350°F (175°C) for about 20-25 minutes, or until heated through. Then, prepare the cheese sauce and spoon it over the reheated cups.


