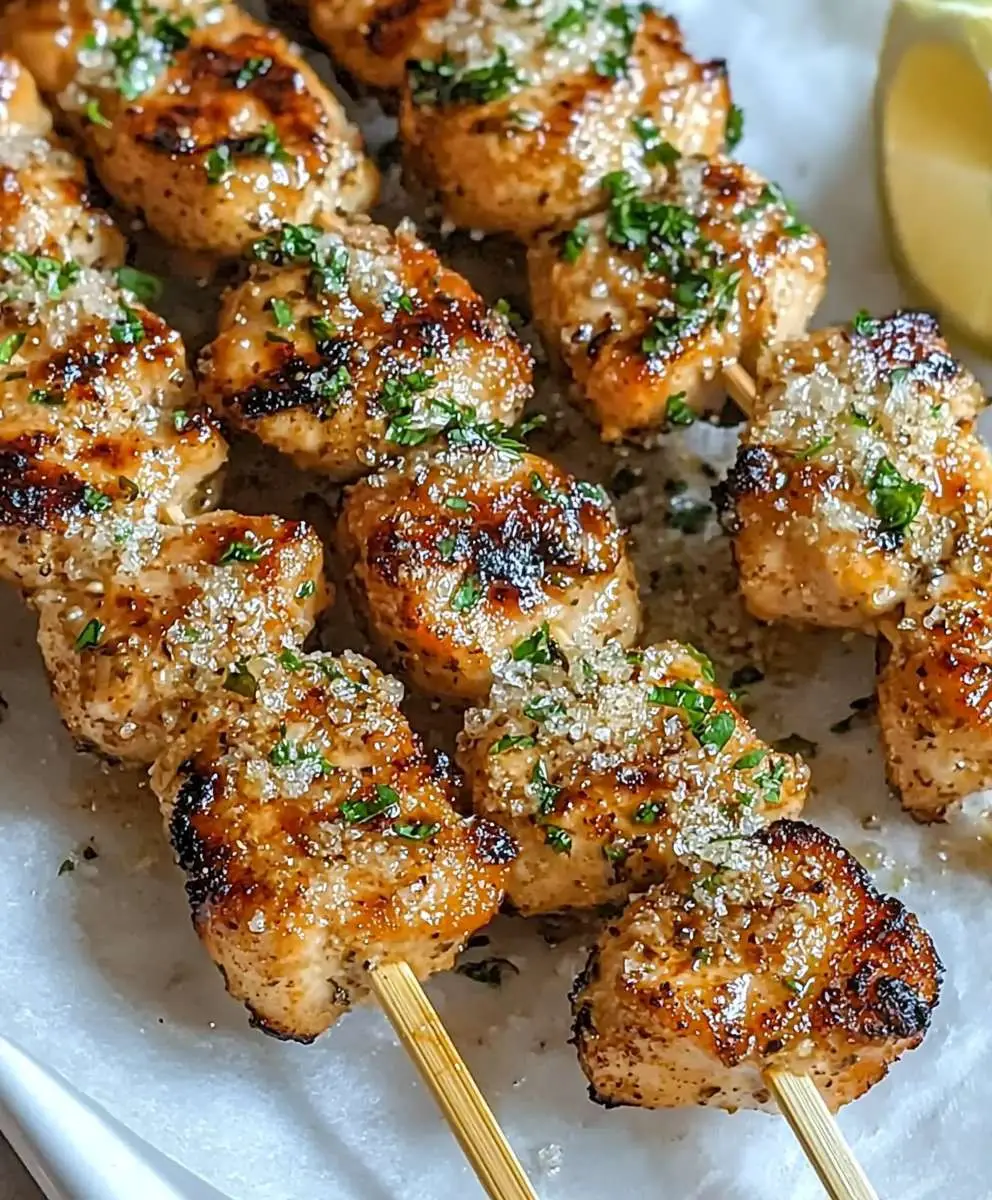
Ranch Garlic Parmesan Chicken is a delightful dish that has quickly become a favorite in my kitchen. The combination of savory ranch seasoning, rich garlic, and creamy Parmesan cheese creates a flavor explosion that is simply irresistible. This recipe not only satisfies your taste buds but also brings a sense of comfort and nostalgia, as it reminds many of family gatherings and cozy dinners at home.
What I love most about Ranch Garlic Parmesan Chicken is its versatility. Whether you’re serving it for a weeknight dinner or a special occasion, this dish is sure to impress. The juicy chicken, coated in a flavorful blend, offers a satisfying crunch on the outside while remaining tender and juicy on the inside. Plus, it’s incredibly convenient to prepare, making it a go-to option for busy days. Join me as we dive into this delicious recipe that has captured the hearts of many, including mine!
Ingredients:
- 4 boneless, skinless chicken breasts
- 1 cup buttermilk
- 1 packet ranch seasoning mix
- 1 cup all-purpose flour
- 1 cup grated Parmesan cheese
- 1 teaspoon garlic powder
- 1 teaspoon onion powder
- 1 teaspoon paprika
- 1/2 teaspoon black pepper
- 1/2 teaspoon salt
- 1/4 cup unsalted butter, melted
- Fresh parsley, chopped (for garnish)
Preparing the Marinade
1. In a large mixing bowl, combine the buttermilk and ranch seasoning mix. Whisk them together until the seasoning is fully dissolved in the buttermilk. This will create a flavorful marinade that will tenderize the chicken and infuse it with delicious ranch flavor. 2. Place the chicken breasts in the marinade, ensuring they are fully submerged. Cover the bowl with plastic wrap or transfer the chicken and marinade to a resealable plastic bag. Let it marinate in the refrigerator for at least 1 hour, but for best results, I recommend letting it sit overnight. This allows the flavors to penetrate the chicken deeply.Preparing the Coating
3. While the chicken is marinating, let’s prepare the coating. In a separate bowl, combine the flour, grated Parmesan cheese, garlic powder, onion powder, paprika, black pepper, and salt. Mix these dry ingredients together until they are well combined. The Parmesan cheese will add a rich, cheesy flavor and a nice crunch to the chicken. 4. Preheat your oven to 400°F (200°C). This temperature is perfect for getting that crispy coating while keeping the chicken juicy inside.Coating the Chicken
5. Once the chicken has marinated, remove it from the refrigerator. Let any excess marinade drip off, but don’t rinse the chicken. You want that flavorful buttermilk to stick to the chicken. 6. Take each chicken breast and dredge it in the flour and Parmesan mixture. Make sure to coat each piece thoroughly, pressing the mixture onto the chicken to ensure it adheres well. This step is crucial for achieving that crispy, golden crust. 7. Place the coated chicken breasts on a baking sheet lined with parchment paper or a lightly greased baking dish. Make sure to leave some space between each piece to allow for even cooking.Adding the Butter
8. Drizzle the melted butter over the coated chicken breasts. This will help the coating crisp up beautifully in the oven and add a rich flavor. If you prefer, you can also brush the butter on for a more even application.Baking the Chicken
9. Place the baking sheet in the preheated oven and bake for 25-30 minutes, or until the chicken is cooked through and the coating is golden brown. To check for doneness, use a meat thermometer; the internal temperature should reach 165°F (75°C). 10. If you want an extra crispy finish, you can broil the chicken for an additional 2-3 minutes at the end of the baking time. Just keep a close eye on it to prevent burning.Serving the Chicken
11. Once the chicken is done, remove it from the oven and let it rest for about 5 minutes. This resting period allows the juices to redistribute, ensuring each bite is juicy and tender. 12. Before serving, sprinkle some freshly chopped parsley over the chicken for a pop of color and freshness. This not only enhances the presentation but also adds a nice herbal note to the dish.Pairing Suggestions
13. This Ranch Garlic Parmesan Chicken pairs wonderfully with a variety of sides. I love serving it with roasted vegetables, a fresh garden salad, or creamy mashed potatoes. You can also serve it with a side of ranch dressing for dipping, enhancing that ranch flavor even more. 14. If you have leftovers (which is rare because it’s so delicious!), store them in an airtight container in the refrigerator for up to 3 days. Reheat in the oven to maintain the crispiness, or you can microwave it if you’re in a hurry.Tips for Success
15. For an extra kick, consider adding some cayenne pepper or crushed red pepper flakes to the flour mixture. This will give your chicken a spicy twist that complements the ranch flavor beautifully. 16. If you’re looking for a gluten-free option, you can substitute the all-purpose flour with a gluten-free flour blend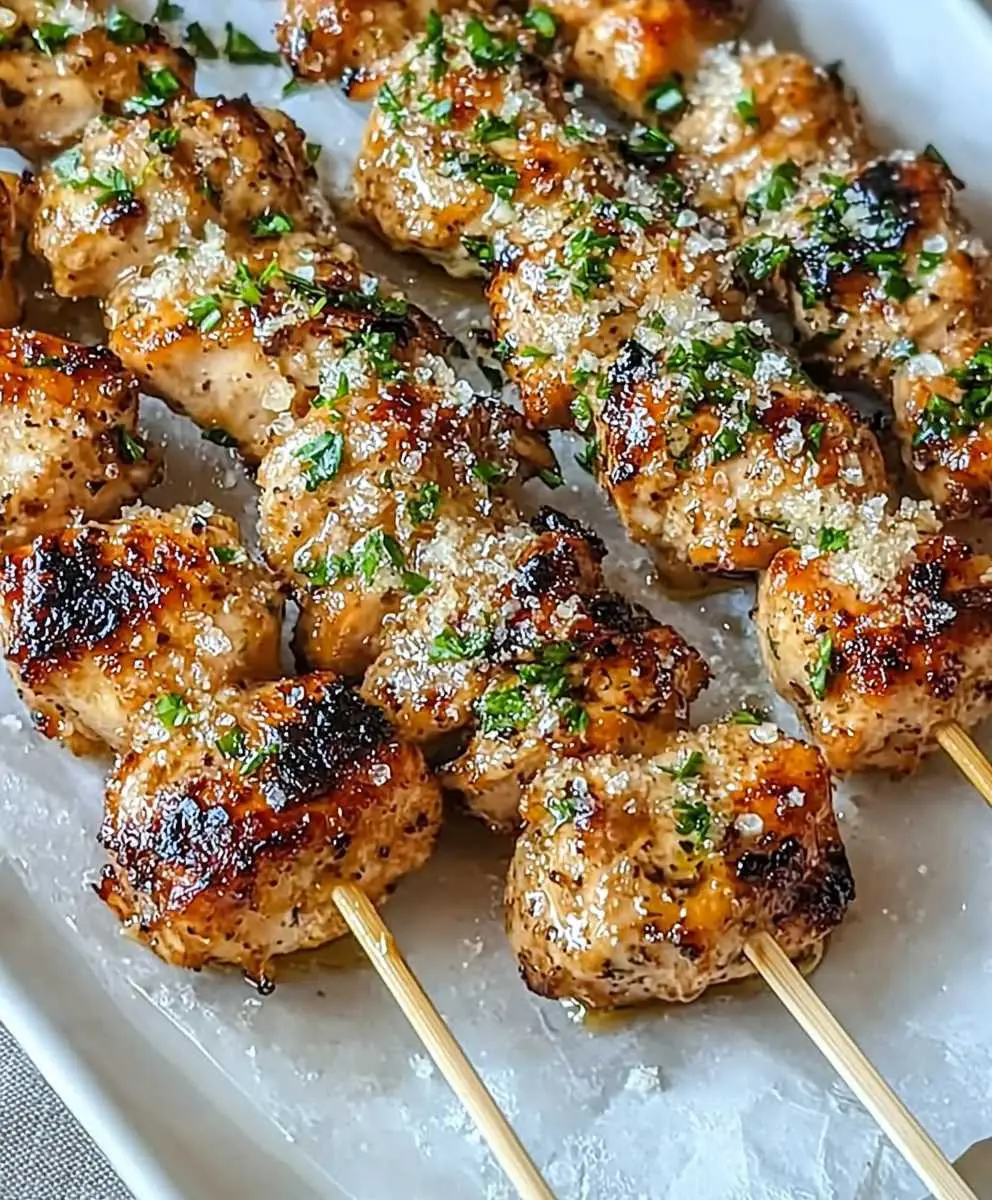
Conclusion:
In summary, this Ranch Garlic Parmesan Chicken recipe is an absolute must-try for anyone looking to elevate their weeknight dinners with minimal effort and maximum flavor. The combination of zesty ranch seasoning, rich garlic, and savory Parmesan creates a mouthwatering dish that is sure to impress your family and friends. Plus, it’s incredibly versatile! You can serve it alongside a fresh garden salad, creamy mashed potatoes, or even over a bed of pasta for a heartier meal. If you’re feeling adventurous, consider adding your favorite vegetables to the baking dish, such as broccoli or bell peppers, to create a one-pan wonder that’s both delicious and nutritious. You can also switch up the cheese by trying mozzarella or cheddar for a different twist on this classic recipe. I encourage you to give this Ranch Garlic Parmesan Chicken a try and experience the delightful flavors for yourself. Don’t forget to share your cooking adventures with me! I’d love to hear how it turned out for you and any variations you tried. Happy cooking! Print
Ranch Garlic Parmesan Chicken: A Deliciously Easy Recipe for Dinner
- Total Time: 90 minutes
- Yield: 4 servings 1x
Description
Enjoy crispy and flavorful Ranch Garlic Parmesan Chicken, marinated in buttermilk and ranch seasoning, then coated in a savory blend of Parmesan cheese and spices. Baked to golden perfection, this dish is a crowd-pleaser that pairs well with your favorite sides.
Ingredients
- 4 boneless, skinless chicken breasts
- 1 cup buttermilk
- 1 packet ranch seasoning mix
- 1 cup all-purpose flour
- 1 cup grated Parmesan cheese
- 1 teaspoon garlic powder
- 1 teaspoon onion powder
- 1 teaspoon paprika
- 1/2 teaspoon black pepper
- 1/2 teaspoon salt
- 1/4 cup unsalted butter, melted
- Fresh parsley, chopped (for garnish)
Instructions
- In a large mixing bowl, whisk together the buttermilk and ranch seasoning mix until fully dissolved. Submerge the chicken breasts in the marinade, cover, and refrigerate for at least 1 hour (preferably overnight).
- In a separate bowl, mix together the flour, grated Parmesan cheese, garlic powder, onion powder, paprika, black pepper, and salt until well combined. Preheat your oven to 400°F (200°C).
- Remove the chicken from the marinade, allowing excess to drip off. Dredge each chicken breast in the flour and Parmesan mixture, pressing to ensure it adheres well. Place the coated chicken on a baking sheet lined with parchment paper.
- Drizzle the melted butter over the coated chicken breasts, or brush it on for even coverage.
- Bake in the preheated oven for 25-30 minutes, or until the chicken is cooked through and the coating is golden brown (internal temperature should reach 165°F/75°C). For extra crispiness, broil for an additional 2-3 minutes, watching closely to prevent burning.
- Let the chicken rest for 5 minutes before serving. Garnish with freshly chopped parsley for added color and flavor.
Notes
- Pair with roasted vegetables, a fresh garden salad, or creamy mashed potatoes.
- Store leftovers in an airtight container in the refrigerator for up to 3 days. Reheat in the oven for best results.
- For a spicy kick, add cayenne pepper or crushed red pepper flakes to the flour mixture.
- For a gluten-free option, substitute all-purpose flour with a gluten-free flour blend.
- Prep Time: 60 minutes
- Cook Time: 25-30 minutes

